Your here: Home / Network / Hardware Specific / Buffalo / WZR-HP-G300NH v1.0
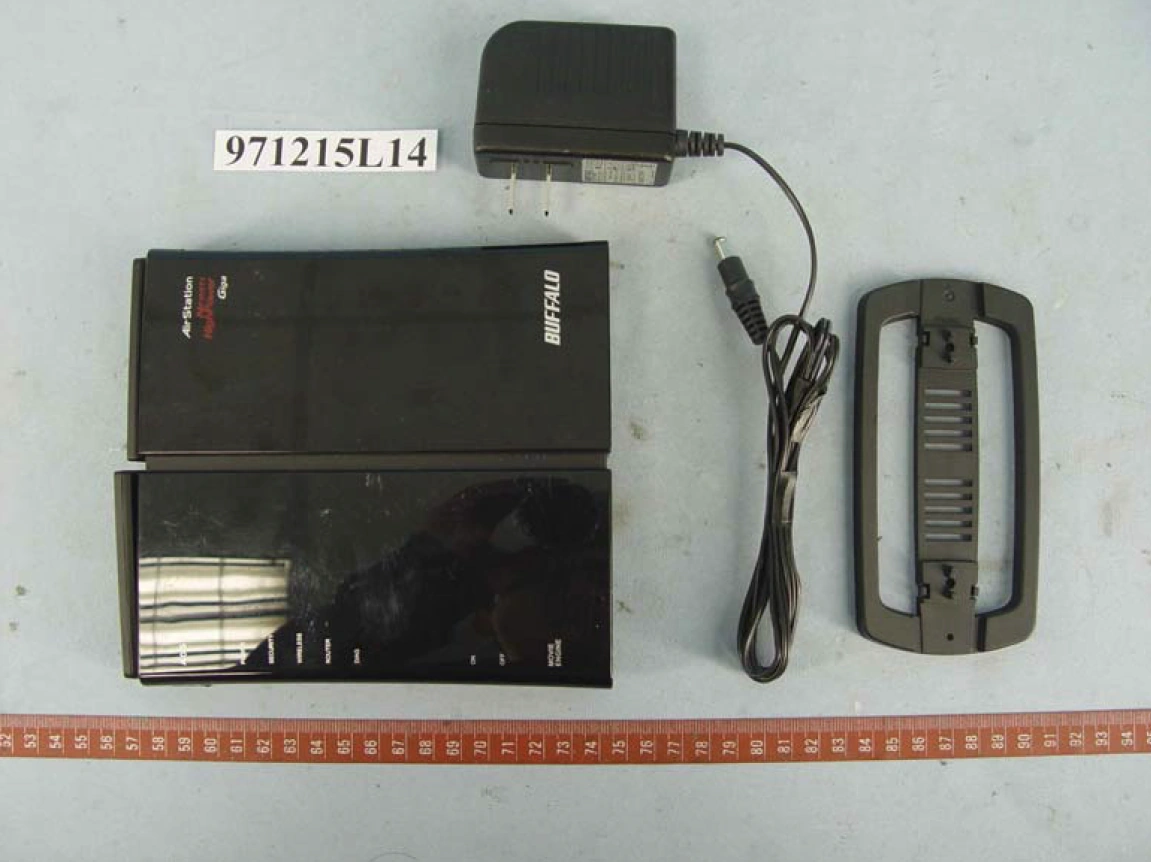
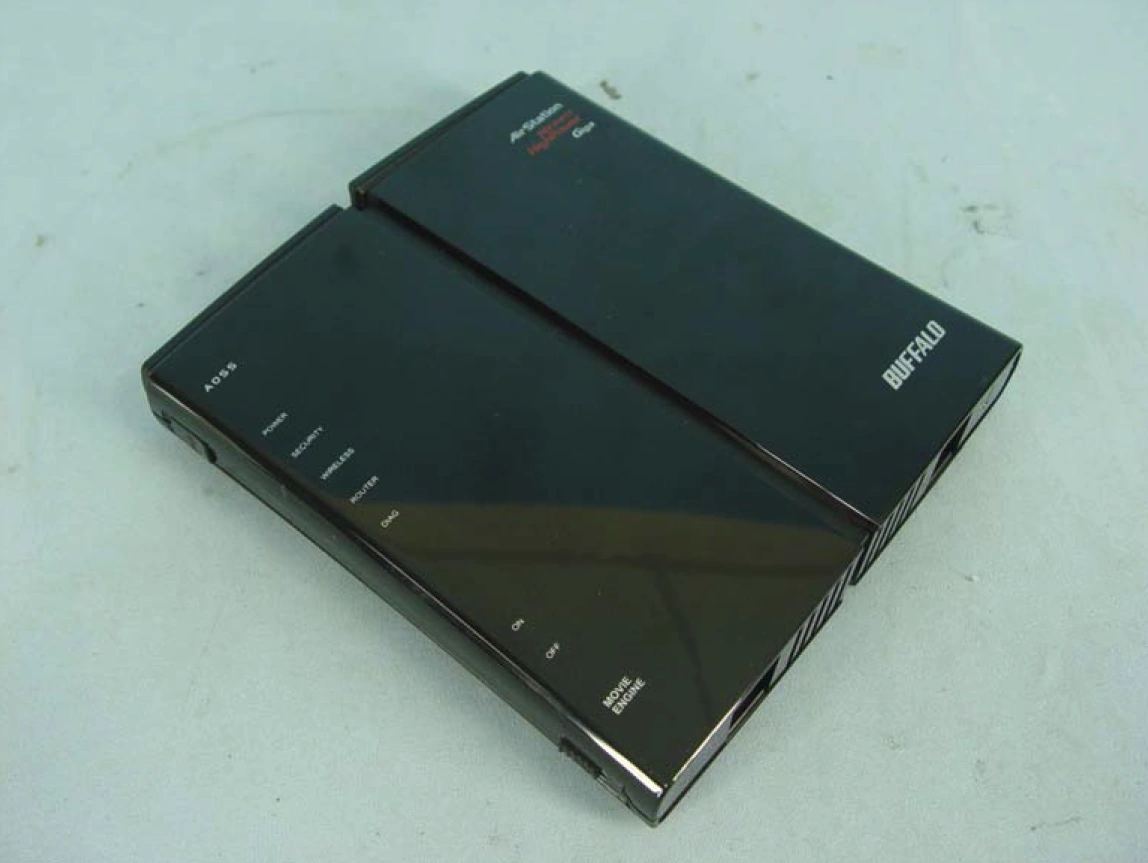
| File:Buffalo WZR-HP-G300NHa.jpg |
NOTE: During configuration or flashing a device, the only that should be hooked to the device is the computer and power.
Specs[]
 This section is in need of cleanup!
Platform
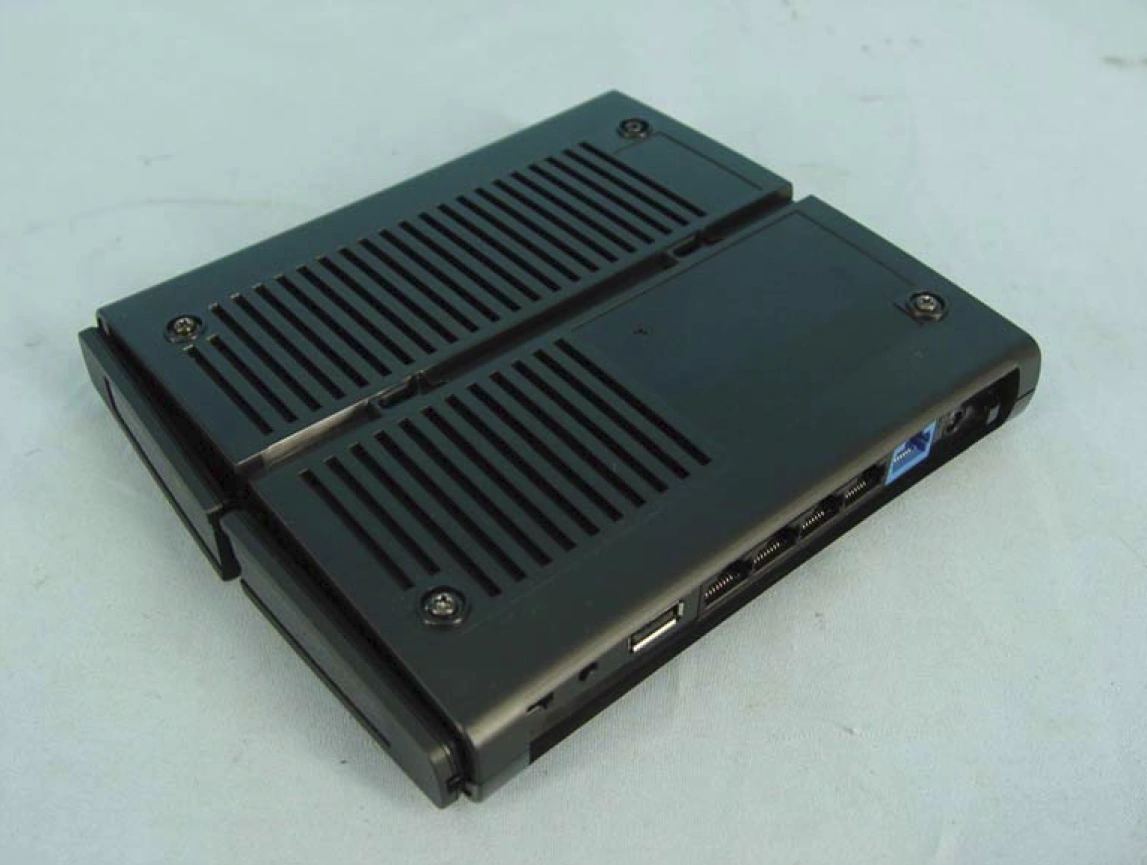
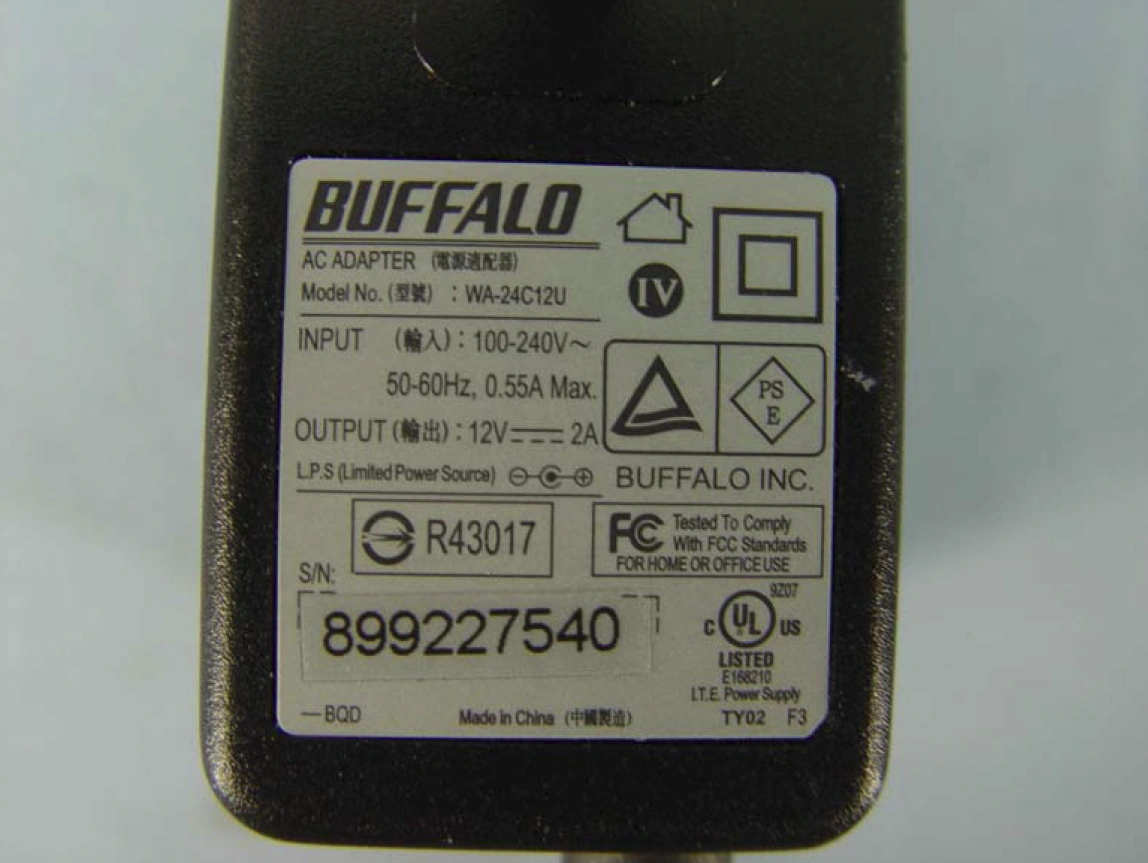
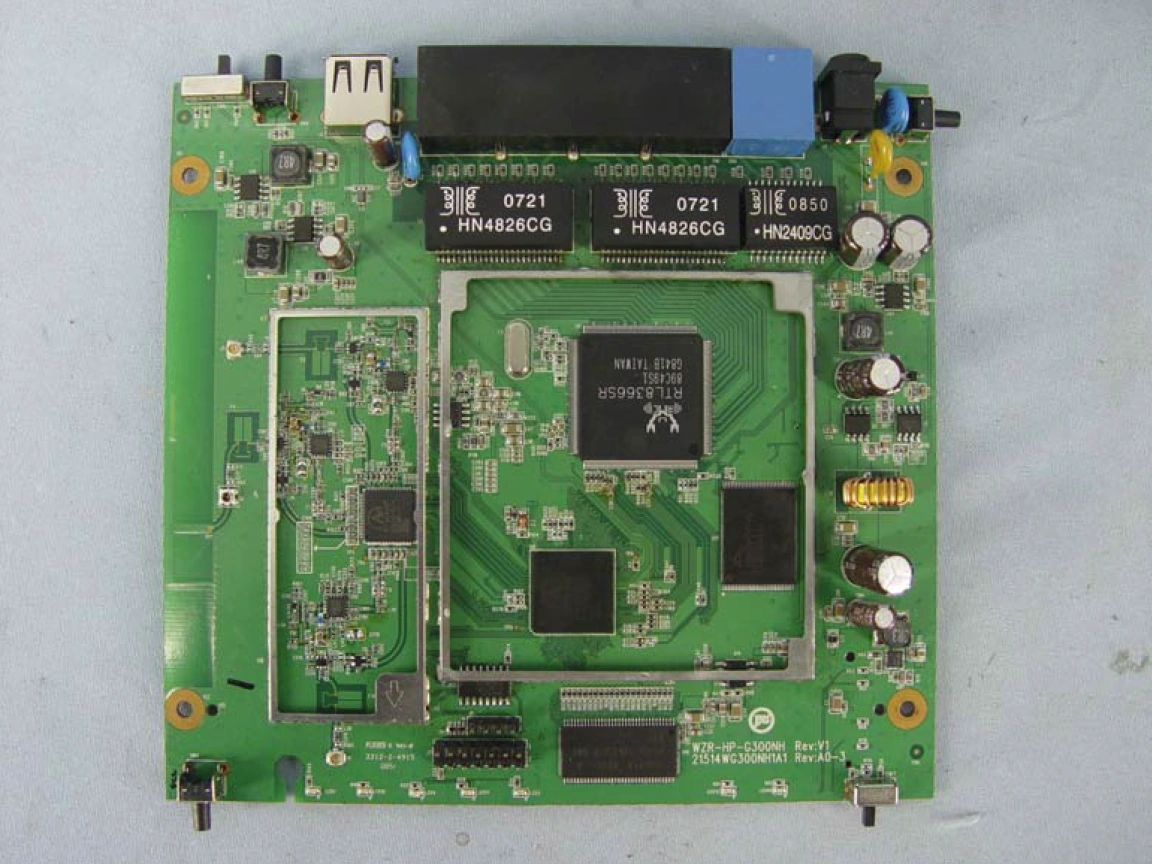
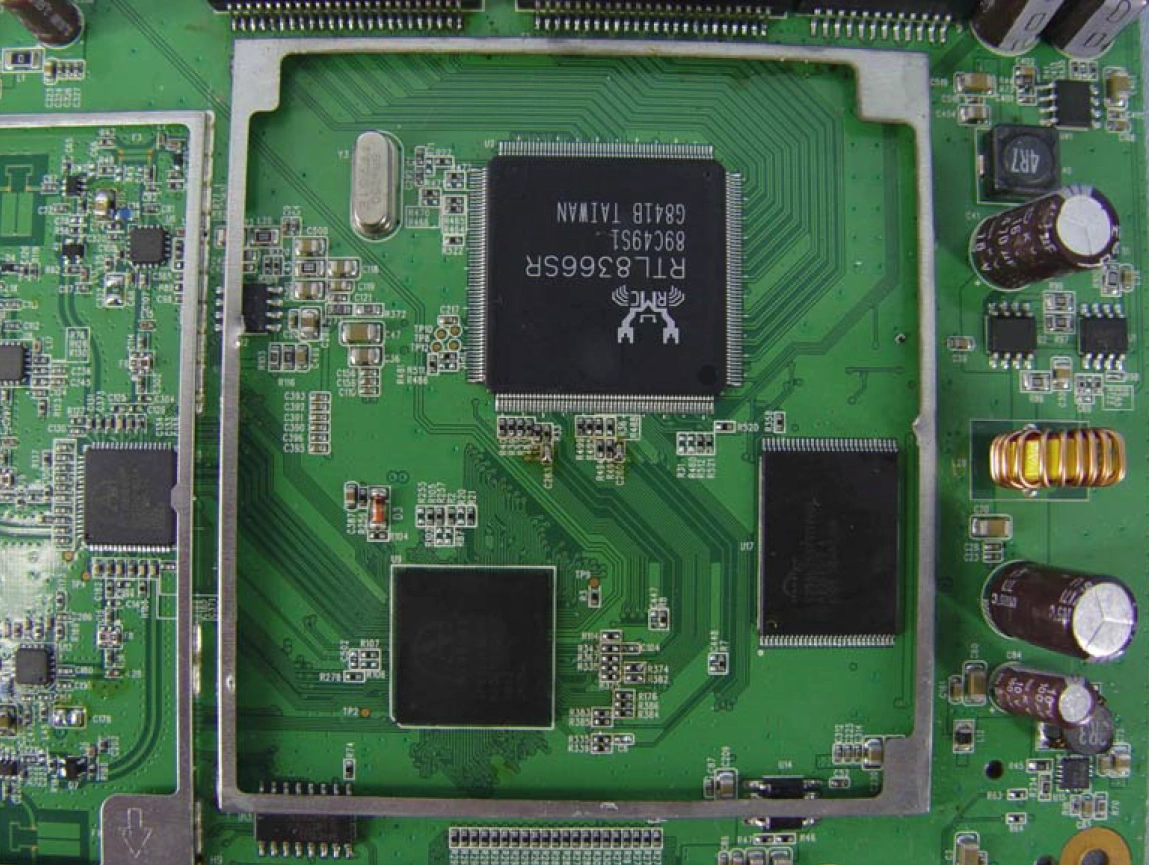
Serial Num. = ?
FCC ID = FDI-09101560-0
CPU Type = Atheros AR9132
MIPS Rev = ?
CPU Speed = 400MHz
Bus = ?
Flash Type = Parallel
Flash Chip = ?
Flash Size = 32MB
Max Firmware Size = ?
RAM Size = 64MB
RAM Chip = ?
nvram Size = ?
Switch = ?
Port-based vlan = ?
802.1q vlan = ?
Ethernet Port Count = 1-WAN 4-10/100/1000-LAN
Wired Standard = IEEE 802.3/3u/3ab
boot_wait = ?
bootloader = U-Boot
Flash Card Socket/Type = No
SD/MMC Mod Support = No
MiniPCI slots = No
PoE = No
Power = 12V/2A
Color of LEDs = ?
Size = ?
USB = 1 USB 2.0
Serial Port = 1
JTAG Port = 1
Supported by TJTAG 3.02 = ?
Supported by dd-wrt as of = v24sp2 v13525 20091228
dd-wrt K2.4 Support = ?
dd-wrt K2.6 Support = ?
Special Features = ?
Radio (ath0)
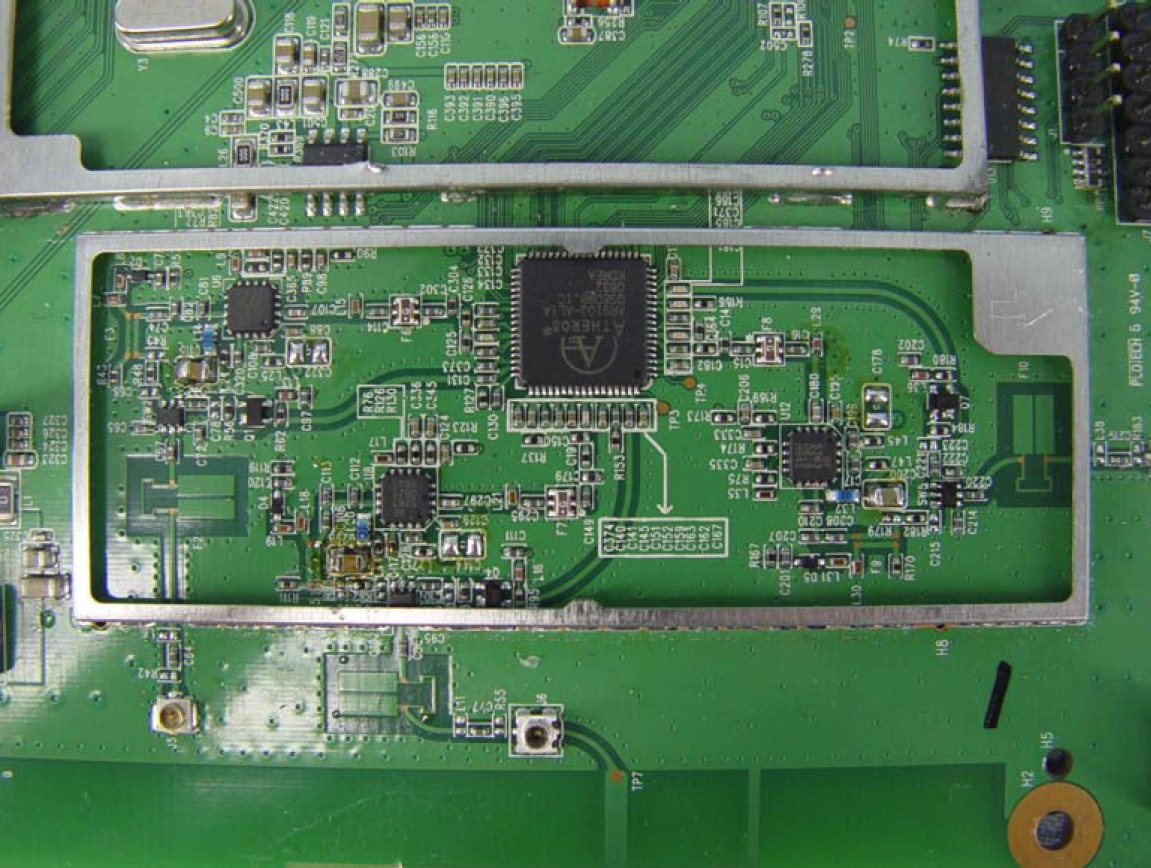
Wireless Radio = Atheros AR9103 3x3 MIMO
WLAN DSP processor = ?
Antenna Connector Type = External Fixed
Wireless Standard = IEEE 802.11b/g/n
WiFi Operating Frequency = 2.4GHz
 802.11n Draft = up to 300Mbps
 802.11g = 6, 9, 12, 18, 24, 36, 48, 54Mbps
 802.11b = 1, 2, 5.5, 11Mbps
Radio cor_rev = ?
Radio Capabilities = ?
Links of Interest[]
Flashing[]
Buffalo provides a re-branded version of DD-WRT specifically for this router. It can be flashed from the GUI and is available on the Buffalo website:
http://www.buffalotech.com/support/getfile/wzrhpg300nh-pro-v24sp2-14998.zip
Read Me Documentation for Buffalo delivered DD-WRT firmware: http://www.buffalotech.com/support/getfile/wzrhpg300nh-pro-v24sp2-14998.txt
As of Feb 2010, the WZR-HP-G300NH can be flashed with DD-WRT directly from the Buffalo web GUI. To do this, go to http://www.dd-wrt.com/site/support/router-database, look up Buffalo WZR-HP-G300NH, and download the firmware file you need (just one file).
- The buffalo to ddwrt webflash file is a full build. It's for flashing from the original Buffalo firmware to DD-WRT.
- The webupgrade file is to upgrade from an older version of DD-WRT. Use this to upgrade from an old version of DD-WRT.
- To revert from DD-WRT back to stock firmware, go to http://www.dd-wrt.com/phpBB2/download.php?id=13418, and download the file. Flash using upgrade on the DD-WRT web GUI. This is the 1.6 stock firmware. You can then upgrade to the latest Buffalo firmware. You must be signed into the forum first, sign in then click the link for the webgui revert file. See the forums for details. Register and log in to see and download files.
- http://www.dd-wrt.com/phpBB2/viewtopic.php?t=63820&postdays=0&postorder=asc&highlight=13977&start=90.
- http://www.dd-wrt.com/phpBB2/viewtopic.php?t=66494&postdays=0&postorder=asc&start=30. Details on reverting the firmware.
DD-WRT on Buffalo WZR-HP-G300NH (Japanese version)[]
The official DD-WRT release cannot be pushed by web upload onto the Japanese WZR-HP-G300NH original Buffalo firmware. Buffalo Japan added a "safeguard" that checks for Japanese firmware and rejects western firmware. For people with a Japanese router, see the following two sites for details.
Upgrading[]
This section is in need of cleanup!
Reverting[]
This section is in need of cleanup!
Debricking Info[]
There have been a few guides out that have reports of success when de-bricking the WZR-HP-G300NH. This however, has been explained by Brainslayer in this post, please use it for referencing info you may need to de-brick your unit, should the occasion arise.
JTAG/Serial Info[]
JTAG[]
JTAG Pinouts[]
 This section is in need of cleanup!
JTAG Recovery[]
This section is in need JTAG Recovery Instructions!
Serial[]
Serial Pinouts[]
This section is in need of cleanup!
Hyper terminal Setup in Windows XP[]
In Windows XP, Click Start Button - All Programs - Accessories -
   Communication - HyperTerminal
Enter a name for the connection, Click ok
Choose com port you adapter is plugged into, Click ok
Set:
 Bits per second = 115200
 Data Bits = 8
 Parity = none
 Stop bits = 1
 Flow control = none
Click ok
Click File - Save As, and select a place to save it to so you
             don't have to enter the settings again.
Putty Setup in Windows XP[]
After installing putty, run it
 Serial line = The COM port your using for serial (ie. COM3)
 Speed = 115200
Click on Serial under Connection
 Serial line to connect to = same as above (Serial line)
 Speed (baud) = 115200
 Data bits = 8
 Stop bits = 1
 Parity = None
 Flow control = None
Click Session
 Enter a name for your connection under saved sessions
Click Save
Click Open
Serial Recovery[]
This section is in need of Serial Recovery Instructions!
USB Info[]
This section is in need of cleanup!
Samba Configuration[]
The latest build has already include simple UI to configure Samba
DD-WRT already includes a built-in Samba server, but is missing UI to configure it. These instructions provide a simple way to setup Samba. They are based on instructions from http://g300nh.blogspot.com/2010/06/samba-sharing-in-dd-wrt.html, but have been modified for users not familiar with Linux. All setup can be done from within the DD-WRT interface without requiring the use of a remote shell.
Pre Requirements[]
DD-WRT doesn't have any tools to format an HDD, so you must have an preformatted HDD in a format that DD-WRT can understand (FAT32, EXT3, etc.)
Go to Services/USB within DD-WRT and change the settings as indicated below:
Core USB Support: Enable
USB 2.0 Support: Enable
USB Storage Support: Enable
ext2 / ext3 File System Support: Enable
FAT File System Support: Enable
Automatic Drive Mount: Enable
Disk Mount Point: /mnt
After apply the changes, if you have already plugged in an HDD, you should see its information in the UI.
Anonymous Sharing Setup[]
These step will share a disk that is already mounted at /mnt. It will be publicly available to everyone on the network and won't require a username or password to connect.
Go to Administrators/Commands in DD-WRT and copy the script below into the textbox then choose Save Startup
# Stop samba service
killall smbd
killall nmbd
sleep 2

# Configure samba
mkdir -p /tmp/etc/samba
echo "
[global]
	netbios name = DD-WRT
	workgroup = WORKGROUP
	server string = DD-WRT
	syslog = 10
	obey pam restrictions = yes
	socket options = TCP_NODELAY
	preferred master = no
	os level = 20

	security = share
	guest account = nobody
	invalid users = root, mail, deamon, reboot
	null passwords = yes
	guest only = yes
	map to guest = Bad User

	private dir = /tmp/etc/samba/
	lock directory = /var/lock/
	pid directory = /var/run/

	unix charset = UTF-8
	dos charset = UTF-8
	map archive = No
	map hidden = No
	map system = No

[Share]
	path = /mnt/
	read only = no
	create mask = 0700
	directory mask = 0700
" > /tmp/etc/samba/smb.conf

# Add user for samba
# guest user
grep -q nobody /etc/passwd || echo 'nobody:x:65534:65534:nobody:/mnt:/bin/false' >> /etc/passwd

# Start samba service
SMBOPTIONS="-s /tmp/etc/samba/smb.conf"
/usr/sbin/smbd $SMBOPTIONS
/usr/sbin/nmbd $SMBOPTIONS
Setup Sharing with Username/Password[]
Because smbpasswd program build-in DD-WRT always treats /etc/samba/smbpasswd as the samba password file, and /etc is a readonly file system, we must temporary bind /tmp/etc to /etc when adding a user. Change # Add user for samba section like below:
# Add user for samba
mount -o bind /tmp/etc /etc

# clear samba user if exists
echo "" > /tmp/etc/samba/smbpasswd

# guest user
grep -q nobody /etc/passwd || echo 'nobody:x:65534:65534:nobody:/mnt:/bin/false' >> /etc/passwd

# add user: username=share, password=sharepassword
grep -q share /etc/passwd || echo 'share:x:65534:65534:nobody:/mnt/:/bin/false' >> /etc/passwd
smbpasswd share sharepassword

umount /etc
If you need add more users, you can repeat these lines with the desired usernames and passwords
# add user: username=share, password=sharepassword
grep -q share /etc/passwd || echo 'share:x:65534:65534:nobody:/mnt/:/bin/false' >> /etc/passwd
smbpasswd share sharepassword
In the [global] section of Samba configuration, update the config value as indicated below:
	encrypt passwords = true
	passdb backend = smbpasswd
	security = user
	null passwords = no
	guest only = no
	smb passwd file = /tmp/etc/samba/smbpasswd
[]
add later
Setup DD-WRT as Windows Name Server[]
If your network has more than one subnet, you might need to setup a Windows Name Server (WINS server), You can make you router become a WINS server even if you don't have a USB HDD or you don't need a sharing setup. Just user script like Anonymous Sharing Setup but change the below setting in the [global] section:
wins support = yes
Go to Setup/Basic section in DD-WRT and set WINS server in DHCP group to your LAN IP address (ex: 192.168.11.1)
If your network has any device that uses a static IP address, find the WINS section and point to DD-WRT LAN IP address (If you use Windows, choose properties of you adapter, click Advanced, goto WINS tag. If you use Linux, add wins server = xxx.xxx.xxx.xxx in [global] section of samba)
Optware on Atheros[]
Running Optware on Atheros is somewhat different than broadcom. This post explains how to install and setup Optware on Atheros.
vlan Info[]
This section is in need of cleanup!
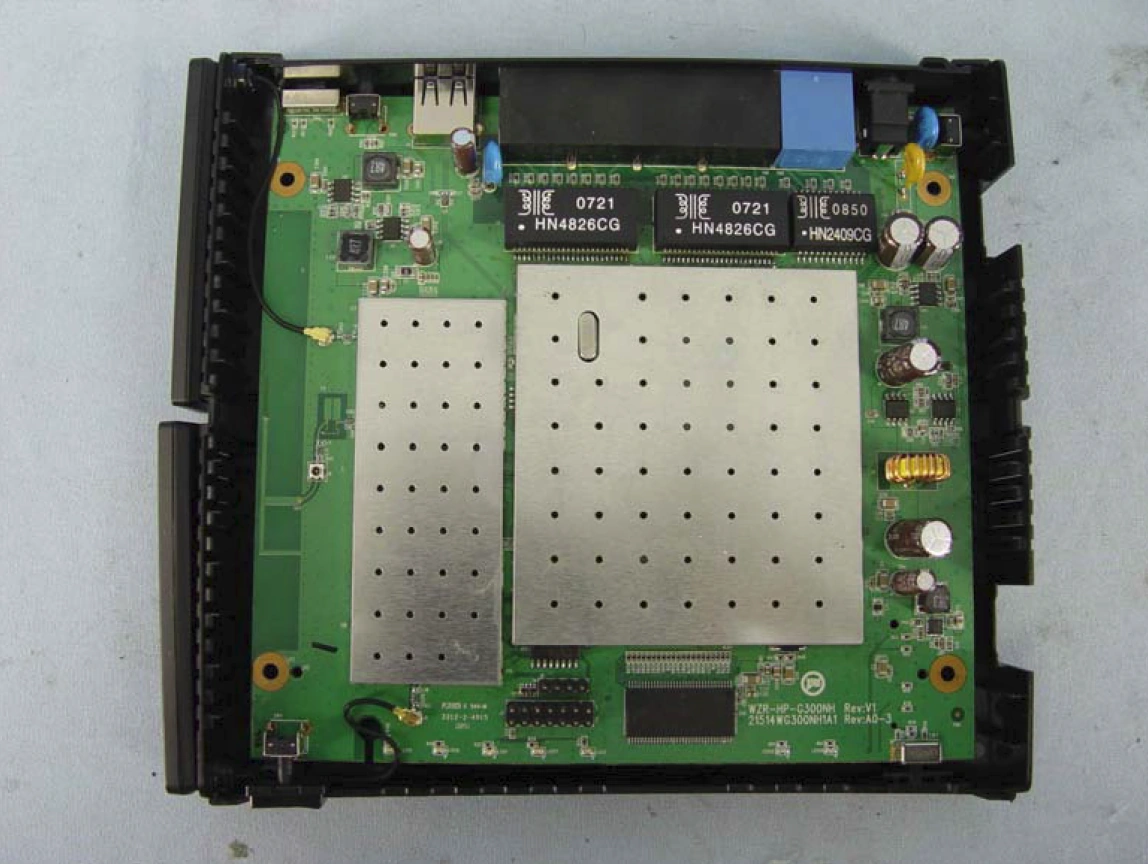
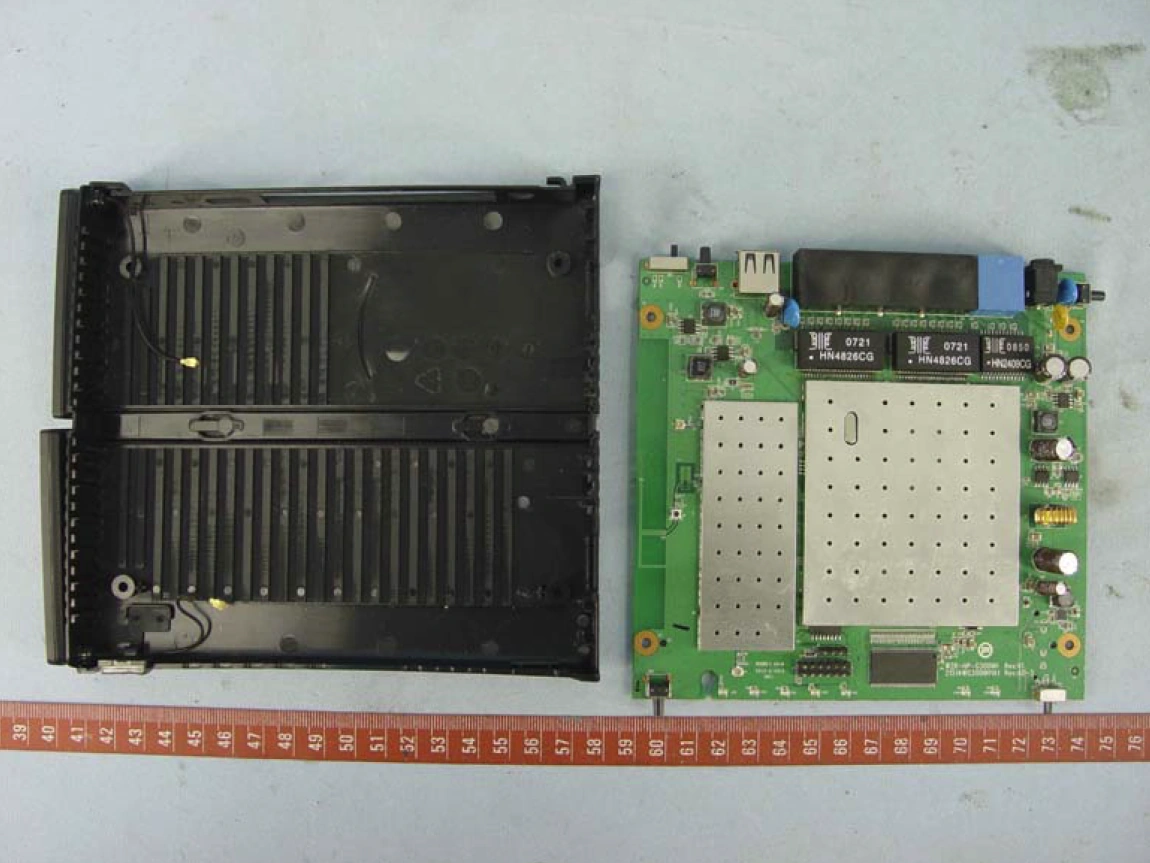
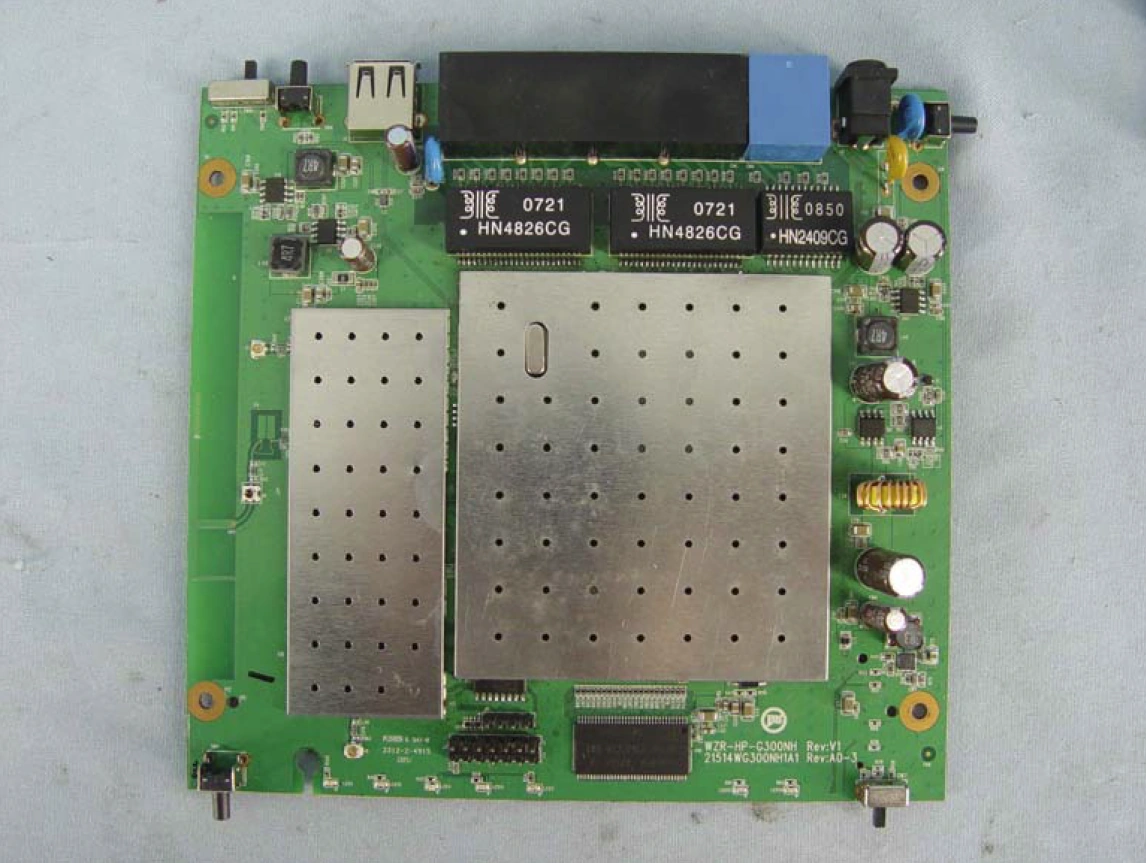
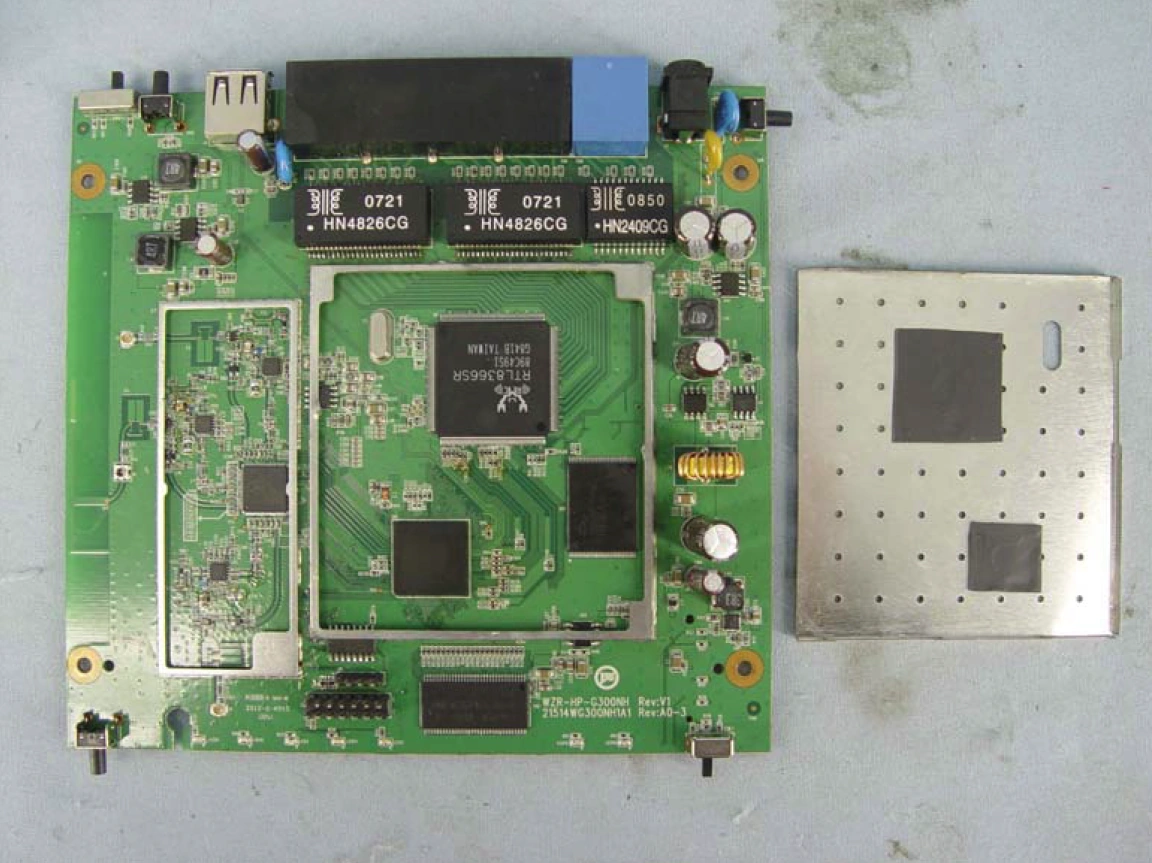
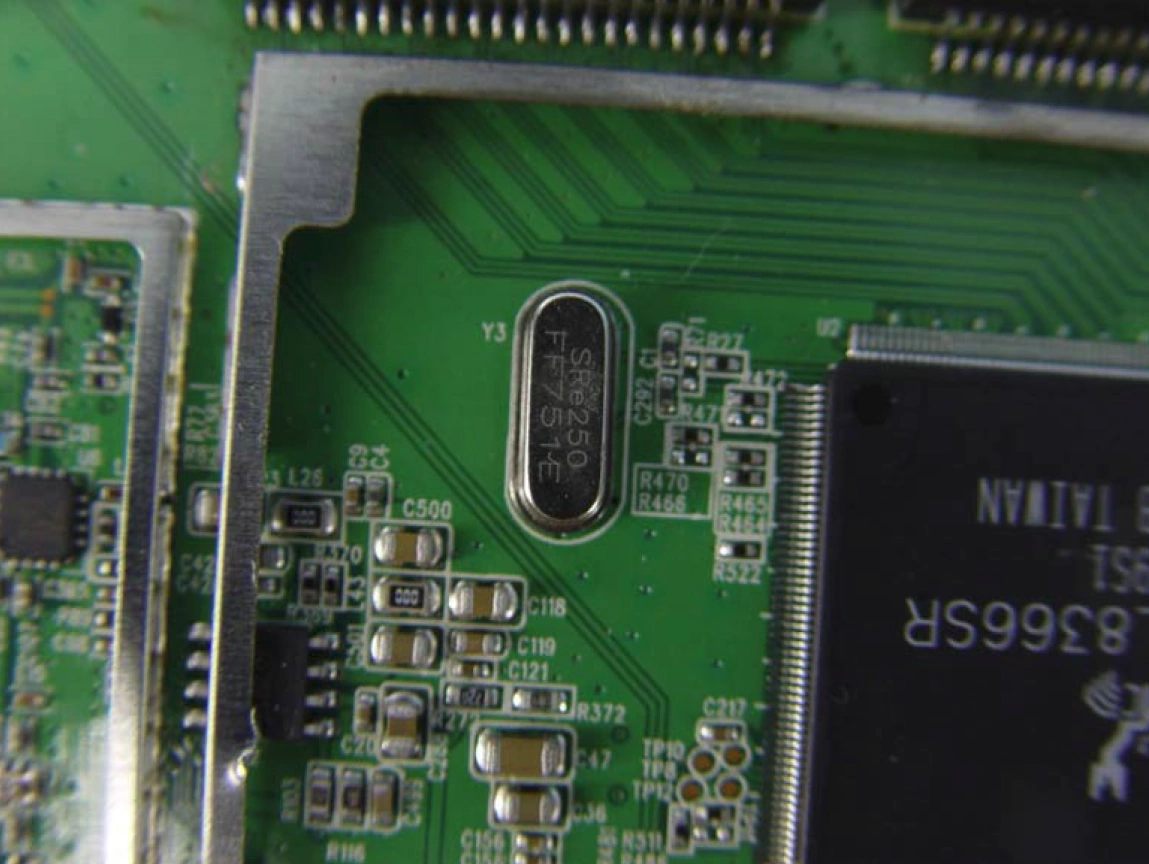
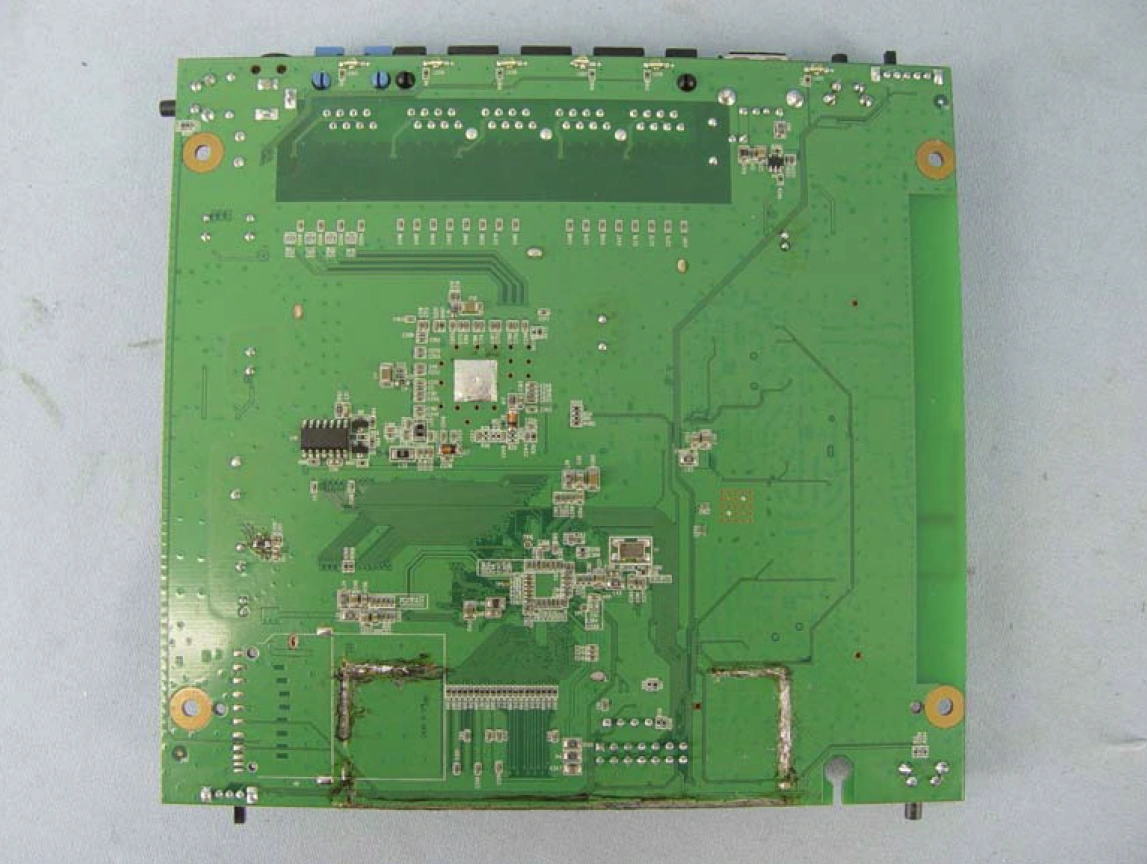
Pictures[]
This section is in need of cleanup!
FCC Pictures[]
Notes[]
Fix for WiFi Dropouts[]
Many users of Buffalo DD-WRT (v24SP2) routers, like me, experience frequent WiFi dropouts, even after tweaking WiFi settings for strong reliable signals.
This startup script monitors a WiFi-connected device on your network that is always on to monitor WiFi dropouts. If there are two missed pings, then it restarts the WiFi interface to restore the connection. The script has been modified from this one for Broadcom hardware, to get it to work on Atheros hardware.
To get startup scripts to run, you will first need to follow these instructions. I prefer the shell script method which, as the prerequisites list, requires that you you are set up for SSH (or Telnet) and SCP connections to the router. It also requires that you set up the jffs flash file system, so that you have somewhere permanent to store and run the script after reboots.
As with all startup scripts, you should first run this manually from a temporary location to make sure it is working correctly. Once you have it working properly, you can then make it a startup script (by giving it a '.startup' extension, making it executable (chmod to '700'), and placing it in /jffs/etc/config/ (or other auto startup directory)).
#!/bin/sh

# This script fixes problems with intermittent dropouts of the WiFi radio.
# It pings a Wifi client to monitor when the connection has dropped (2 missed pings)
# It then closes and restarts the WiFi interface to restore WiFi connections.
# Modified (for Atheros chips, e.g., Buffalo DD-WRT WZR-HP-G300NH) from:
# http://www.dd-wrt.com/wiki/index.php/Useful_Scripts#Reset_Wireless_Radio
# (Original script was for Broadcom chip, but Atheros has no 'wl' command)

# A wireless client that should always be up, to monitor (modify this for your own network)
CLIENT_IP=192.168.2.160

# Wireless interface that disappears
# (The command below will generate this automatically
# Should return 'atho' for Atheros hardware)
INTERFACE=`nvram get wl0_ifname`

# seconds between checks
CHECK_EVERY=60

# seconds to wait after failed ping to try again
FAIL_AGAIN=10

# after cycling, wait this many seconds (limits excessive refreshes if the monitored device is off)
AFTER_CYCLE=9000

# Client must be up before starting main loop
while true
do
  if ping -c 1 ${CLIENT_IP} >/dev/null
  then
    echo "${CLIENT_UP} ok - begining main loop"
    break
  fi
done

# main script to restart wireless interface
while sleep ${CHECK_EVERY}
do
  if ping -c 1 ${CLIENT_IP} >/dev/null
  then
    echo "${CLIENT_IP} ok"
  else
    echo "${CLIENT_IP} dropped one"
    sleep ${FAIL_AGAIN}
    if ! ping -c 1 ${CLIENT_IP} >/dev/null
    then
      echo "${CLIENT_IP} dropped two, restarting ${INTERFACE} (WiFi)"
      # wl -i ${INTERFACE} down  **** NO wl command for Atheros hardware, replace
      ifconfig ${INTERFACE} down
      sleep 3
      # wl -i ${INTERFACE} up
      ifconfig ${INTERFACE} up
      sleep ${AFTER_CYCLE}
    fi
  fi
done 2>&1
Alternate WiFi Dropout Fix[]
My WiFi dropouts are always preceded by the following message in /var/log/messages
user.warn kernel: Sending cwmmode action frame to ff:ff:ff:ff:ff:ff
I wrote a simple script to look for this string in the logs and restart the WiFi interface. It looks for the string every 56 seconds in the current 10 minute interval of logs. For example, when run at 11:47, it will look for the string from 11:40 on. If found, it will restart the interface and sleep for 10 minutes before checking again. I find this triggers around every other day.
After enabling Syslogd under Services->Services->System Log, with no remote server specified
With ssh or telnet access, run the following command and then reboot the router
nvram set rc_startup='while sleep 57; do if grep ^"`date +"%b %e %H:%M"|cut -c1-11`" /var/log/messages|fgrep ff:ff:ff:ff:ff:ff > /dev/null ; then ifconfig ath0 down; sleep 4; ifconfig ath0 up; logger "wifi hang, restarting"; sleep 542; fi; done'
Please read the previous WiFi fix for more details on scripting options.
Hardware Modification[]