Your here: Home / Network / Hardware Specific / Asus / Asus RT-N12
 |
This article is a stub. Please help InfoDepot Wiki by expanding it, adding pictures, and improving existing text.
|
| File:Asus RT-N12a.jpg |
WARNING: It is recommended to use ASUS Firmware restoration tool for ASUS routers initial flash
(use *.TRX file)
NOTE: Do Not flash micro this router.
NOTE: Requires K2.6, Do not flash anything else.
NOTE: During configuration or flashing a device, the only that should be hooked to the device is the computer and power.
Specs[]
 This section is in need of cleanup!
Platform
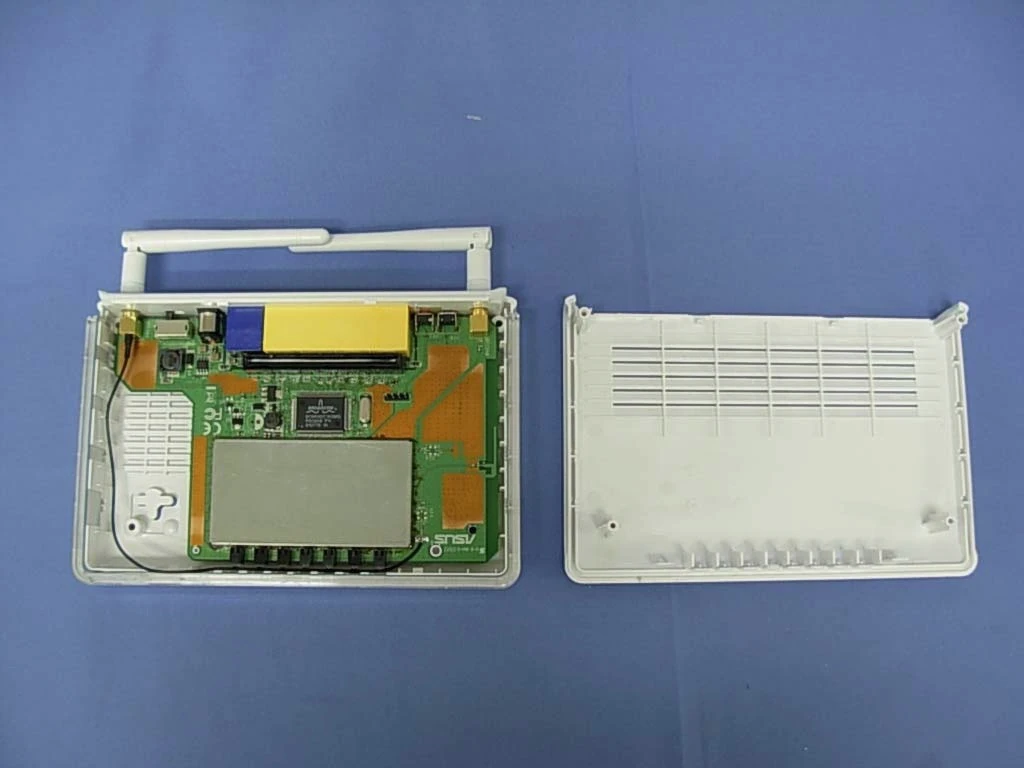
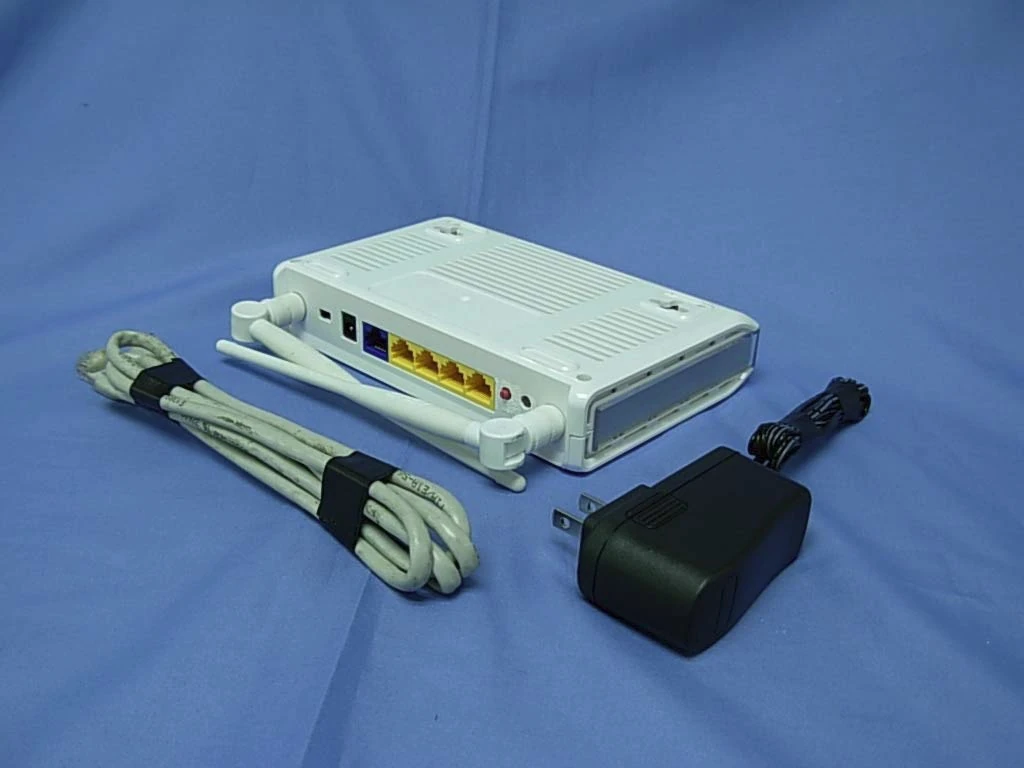
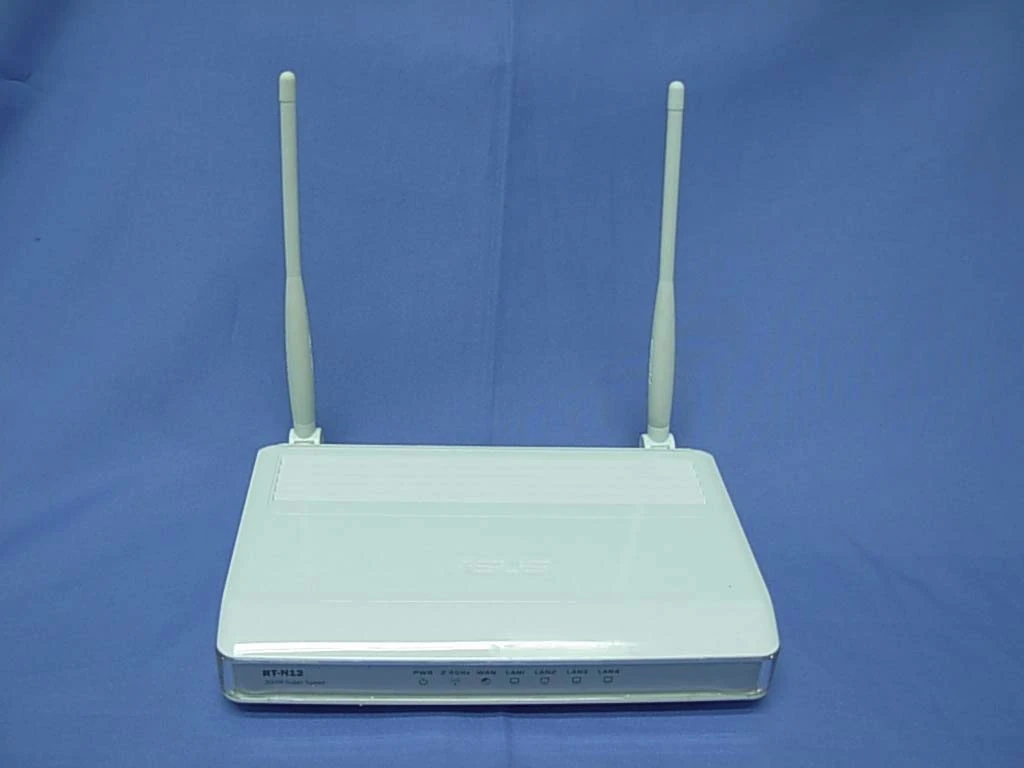
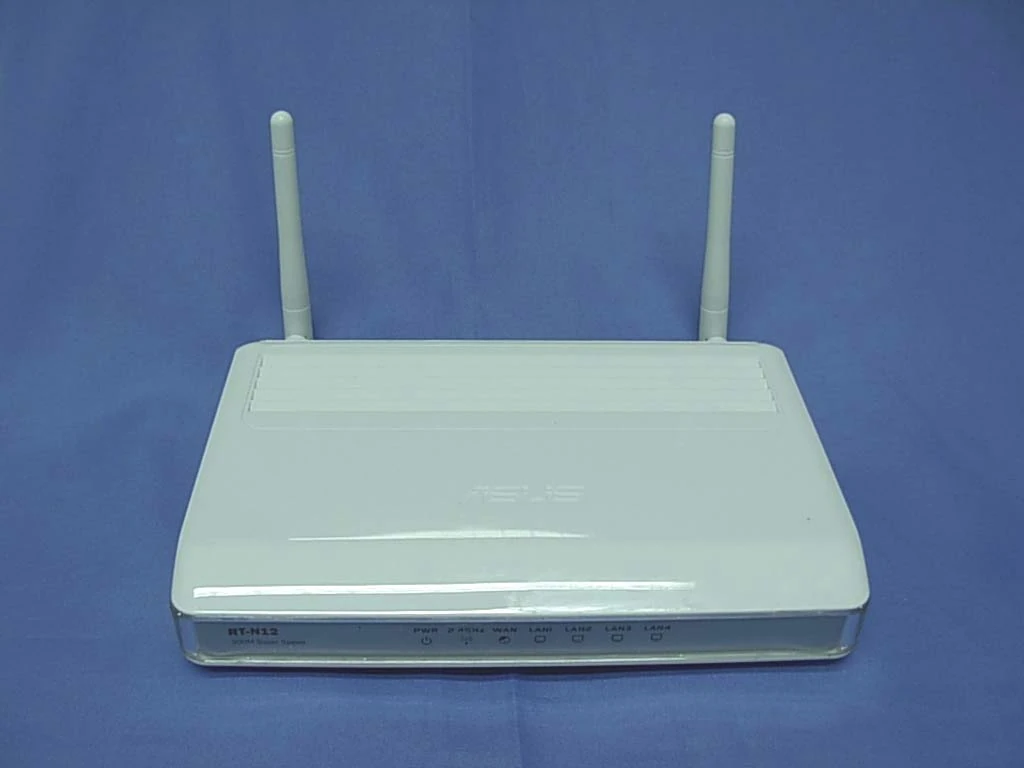
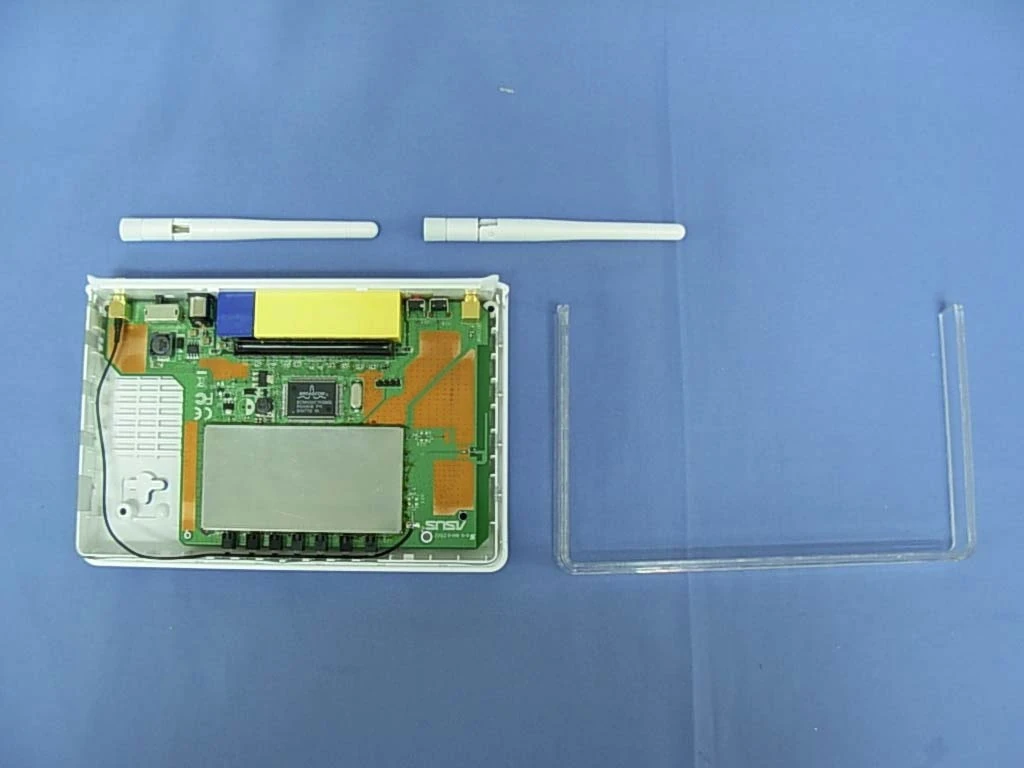
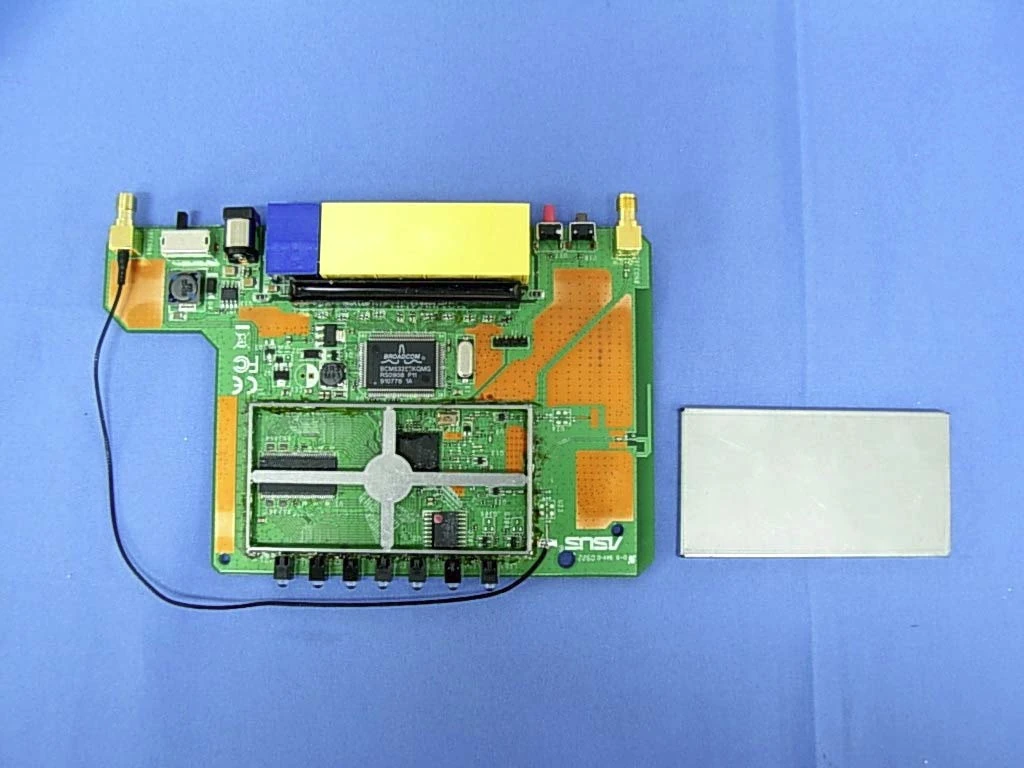
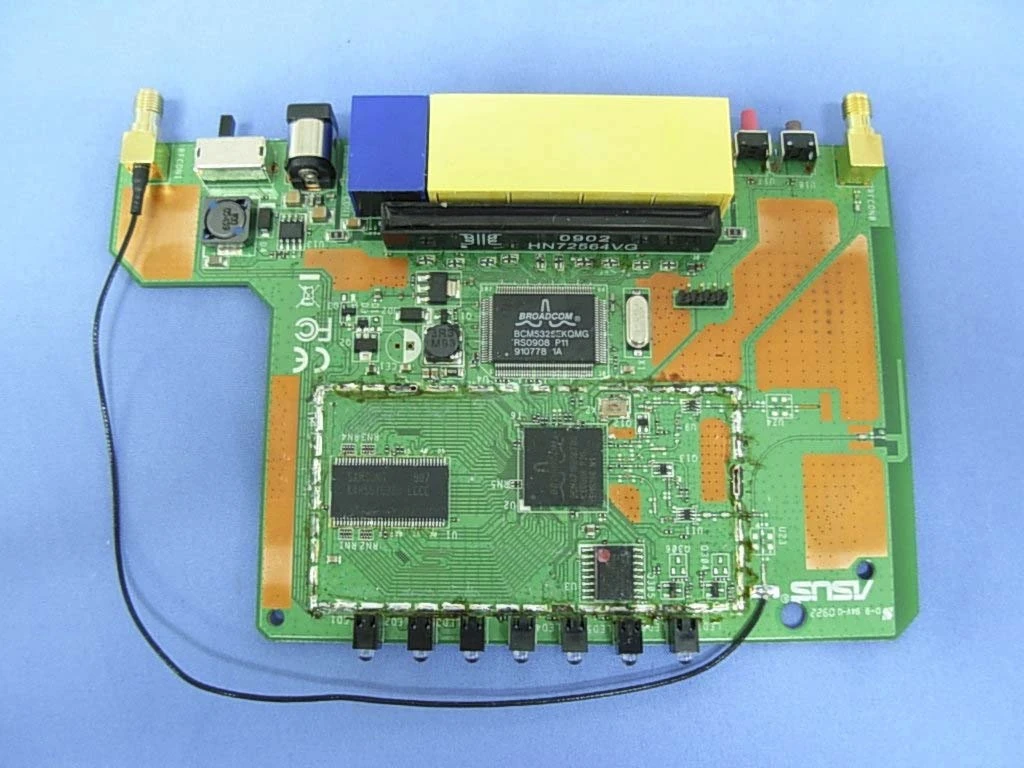
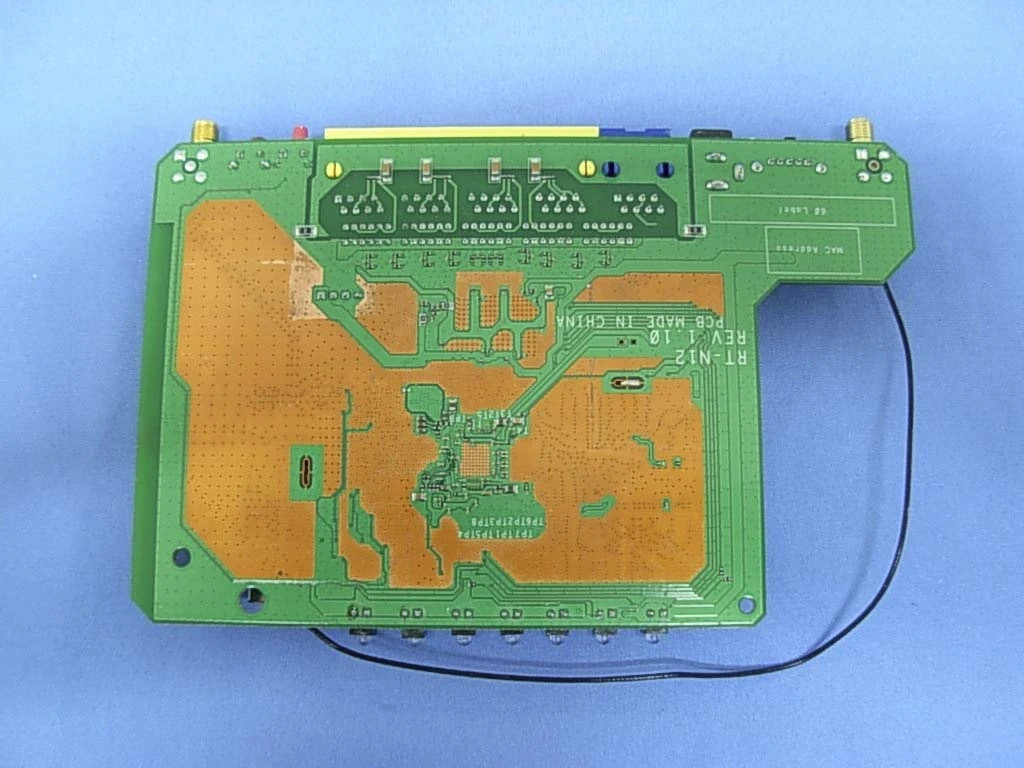
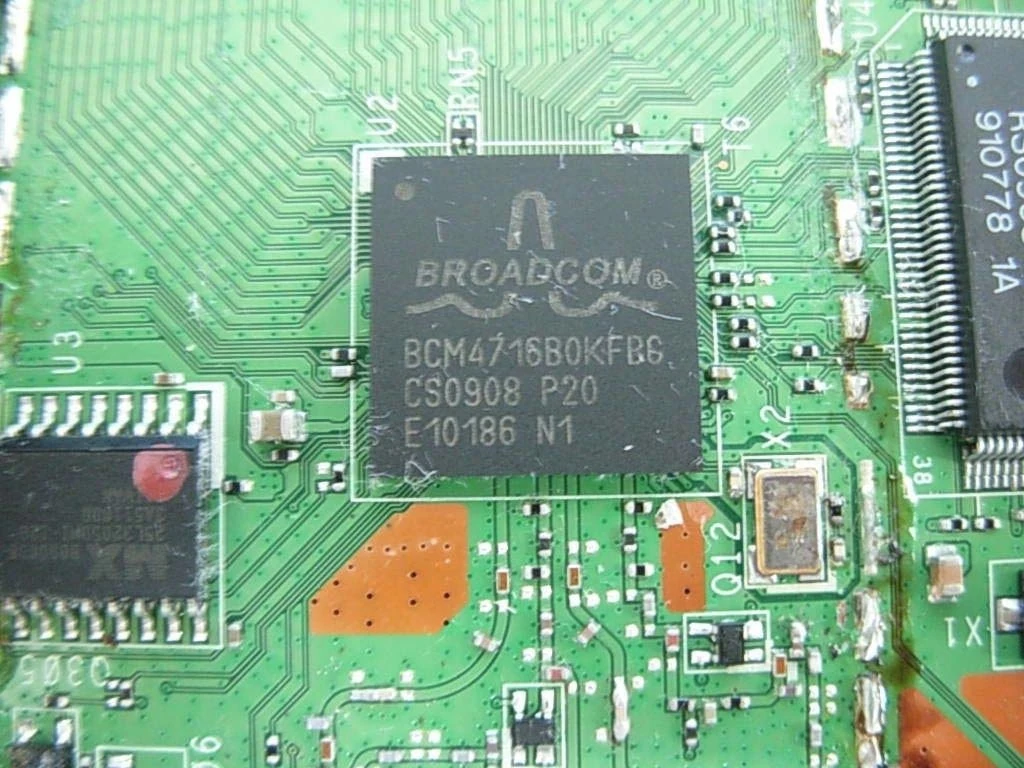
Serial Num. = ?
FCC ID = MSQ-RTN12
CPU Type = Broadcom BCM4716B0KFBG (BCM4716B)
MIPS Rev = R2
CPU Speed = 300MHz
Bus = ?
Flash Type = Serial
Flash Chip = Macronix MX25L3205D
Flash Size = 4MB
Max Firmware Size = 3801088 bytes
RAM Size = 32MB
RAM Chip = ?
nvram Size = ?
Switch = Broadcom BCM5325EKQMG (BCM5325E)
Port-based vlan = ?
802.1q vlan = ?
Ethernet Port Count = 1-10/100M-WAN 4-10/100M-LAN
Wired Standard = IEEE 802.3/3u
boot_wait = ?
bootloader = CFE
Flash Card Socket/Type = No
SD/MMC Mod Support = No
MiniPCI slots = No
PoE = No
Power = 12V/1A or 9V/1A
Color of LEDs = ?
Size = 179 X 119 X 37(L x W x H)mm
USB = No
Serial Port = Yes
JTAG Port = No
Supported by TJTAG/Version = ?
Supported by dd-wrt as of = svn13491
dd-wrt K2.4 Support = No
dd-wrt K2.6 Support = Yes
Special Features = 2 x External Detachable Dipole Antenna
Radio (wl0)
Wireless Radio = Broadcom BCM4716B0KFBG (SoC)
WLAN DSP processor = ?
Antenna Connector Type = RP-SMA
Wireless Standard = IEEE 802.11b/g/n
WiFi Operating Frequency = 2.4GHz ~ 2.5GHz
 802.11n Draft 2.0 @ 15.8~19.5dBm = up to 300Mbps
 802.11g @ 15.5~16.5dBm = 6, 9, 12, 18, 24, 36, 48, 54Mbps
 802.11b @ 15.8~19.5dBm = 1, 2, 5.5, 11Mbps
Channels = 11 CH (US, Canada), 13 CH (ETSI), 14 CH (Japan)
Radio cor_rev = wl0=17
Radio Capabilities = ?
Links of Interest[]
Flashing[]
DD-WRT[]
INSTALLATION INSTRUCTIONS[]
Special Thanks to Eko
DO NOT use Firefox for upgrading builds! Use Internet Explorer!!!!
- Download the firmware dd-wrt.v24-14929_NEWD-2_K2.6_mini_RT-N12.trx.
- For simplicity, connect only the PC to one of the router's LAN ports with a normal [uplink] ethernet cable. No other modem,computers,routers,switches, etc should be connected.
- In order to prevent DHCP from interupting the connection, you will need to manually set the address of your PC's Network LAN card to a STATIC IP in the same subnet of the router, such as 192.168.1.10 with subnet mask 255.255.255.0 . Also make sure all other adapters,such as wireless, which might be seen as "clients" by the router are disabled. Only the main LAN connection [IP: 192.168.1.10] should be able to communicate with the router.
- Unplug the power connector from the back of the router.
- While pushing & holding the recessed Restore button on the back of the router, plug the power connector back in. The Restore button is NOT the raised red WPS button.
- When the power LED slowly blinks on and off, release the Restore button. The router is now in "RESCUE MODE".
- Use the Asus Firmware Restoration Utility [which you should have installed on the PC] to upload the DD-WRT mini-asus.trx file from the location where you saved it.
- DO NOT DISTURB THE ROUTER or PC FOR THE NEXT FEW MINUTES. BE PATIENT!
- After the upgrade, the Utility should ask for a router reboot. Give it AT LEAST a minute to be on the safe side before removing the power. Then unplug the power from the router, wait 10 seconds or so and plug the power back in. You should now be able to access the web interface.
- Return your Net adapter properties for TCP/IP to DHCP "Automatically Obtain IP"
- Type 192.168.1.1 into your browser and set your username as root and pick a password.
ALTERNATE INSTALLATION METHOD FOR ASUS TO DD-WRT FW UPDATE[]
The steps listed above did not work for me, but these steps did.
- Disconnect all ethernet cables from the RT-N12 except 1 going to your NIC.
- Turn off all wireless clients (notebooks, PS3 etc...)
- Ensure DHCP is enabled in the ASUS firmware and retreive IP/DNS automatically is set in your NIC properties.
- (When you open your IE browser it will instruct you to plug back in your WAN ISP cable, if your PC is still seeing the router. If not, you may need to reboot router and/or PC.)
- Do the 30/30/30 peacock method of putting your router in recovery mode.
- Open the router IP of 192.168.1.1. The page will open to a built in browser (HTTP) recovery console.
- Click on the link Reboot to reset/flash the Vram.
- Click the Browse button to browse to your DD-WRT firmware file location.
- Click the Upload button.
- The router will upload the file fairly quickly, and you will be brought to the next screen that says "Allow router time to reboot." BE PATIENT this takes about 4-5 minutes. You will see the LAN1 light turn off and notice the "Network Cable Unplugged" windows popup message in task bar. Wait for the light to turn back on and the PC to reconnect to router.
- Click the "Continue" link shown on the page.
- Clicking "Continue" forces the router to perform another reboot. When it comes back up you will be at the DD-WRT admin login screen.
- If the login screen is white and looks very basic you will need to perform another reboot of the router by removing the power cable.
TomatoUSB[]
This section is in need of cleanup!
Upgrading[]
If dd-wrt is already on the router follow these instructions. If stock firmware is on the router follow the flashing instructions.
- Check for recommended builds here first.
- Set your computer to a static IP of 192.168.1.7. (or to whatever subnet the router is on) Disable all firewalls and security. Disable wireless on your computer and only have the router connected to the flashing computer by the ethernet cable between the two.
- Hard reset or 30/30/30 (If the router supports it, if not, reset to defults in the GUI) prior to flashing. Wait. Check for password page on re-login and change password.
- Flash firmware. You can use the webgui except if you have a belkin router. (For belkin use tftp.exe to flash)
- Wait...at least three minutes. Lights should return to normal. See important2, below. Failing to wait is how most people brick their routers.
- Do a power cycle of the router. (Unplug the cord, count to 30 and plug it back in.)
- Wait for the lights to return to normal usually about 2 minutes.
- Hard reset or 30/30/30 again (If the router supports it, if not, reset to defults in the GUI). Wait. Check for the password page and re-login to change the password. Then you can reconfigure your settings manually.
- Once configured set your computer back to autoIP and autoDNS.
Important1: This Hard reset or 30/30/30 works fine for Asus router, but you do have to power cycle after the reset.
Important2: After you flash the firmware, and before you do the hard reset, the router will be building some nvram settings. YOU MUST WAIT FOR THIS TO FINISH PRIOR TO DOING ANYTHING WITH THE ROUTER INCLUDING A HARD RESET. Usually, you can tell when this process is completed by the WAN light coming on, but it does take several minutes. Go have a beer. There are starting to be more and more people who BRICK their routers by not waiting until the nvram is rebuilt, PRIOR to doing a hard reset. YOU NEED TO WAIT!
Reverting[]
 This section is in need of cleanup!
JTAG/Serial Info[]
JTAG[]
JTAG Pinouts[]
This section is in need of cleanup!
JTAG Recovery[]
This section is in need JTAG Recovery Instructions!
Serial[]
Serial Pinouts[]
This section is in need of cleanup!
Hyper terminal Setup in Windows XP[]
In Windows XP, Click Start Button - All Programs - Accessories -
   Communication - HyperTerminal
Enter a name for the connection, Click ok
Choose com port you adapter is plugged into, Click ok
Set:
 Bits per second = 115200
 Data Bits = 8
 Parity = none
 Stop bits = 1
 Flow control = none
Click ok
Click File - Save As, and select a place to save it to so you
             don't have to enter the settings again.
Putty Setup in Windows XP[]
After installing putty, run it
 Serial line = The COM port your using for serial (ie. COM3)
 Speed = 115200
Click on Serial under Connection
 Serial line to connect to = same as above (Serial line)
 Speed (baud) = 115200
 Data bits = 8
 Stop bits = 1
 Parity = None
 Flow control = None
Click Session
 Enter a name for your connection under saved sessions
Click Save
Click Open
Serial Recovery[]
This section is in need of Serial Recovery Instructions!
vlan Info[]
This section is in need of cleanup!
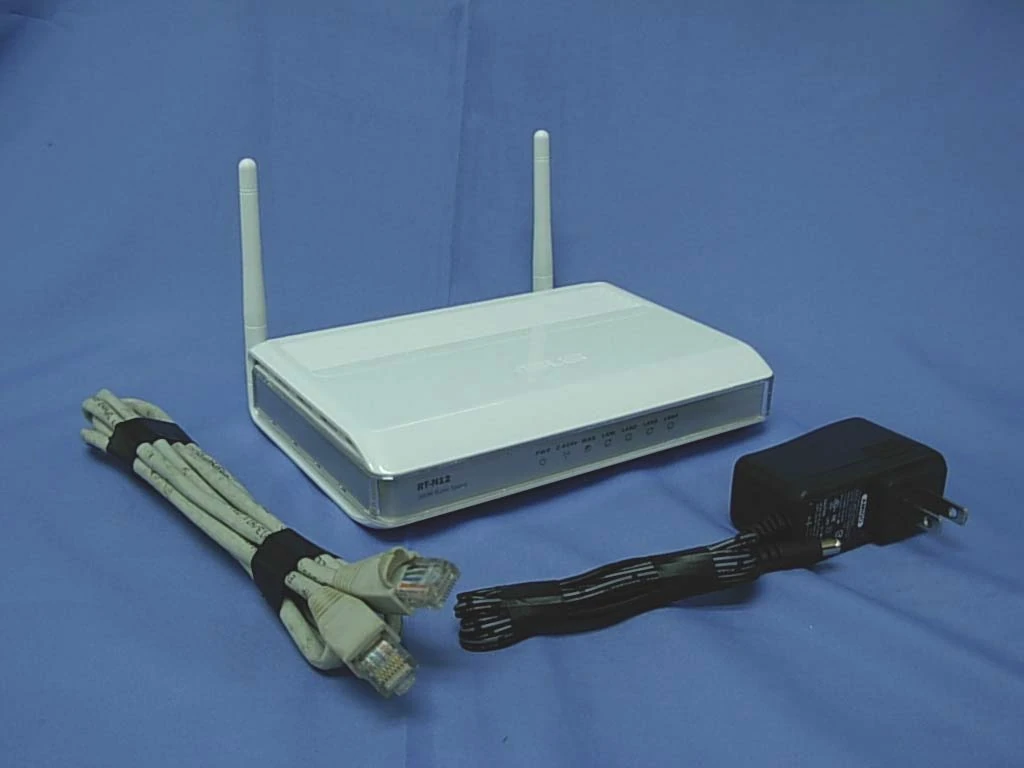
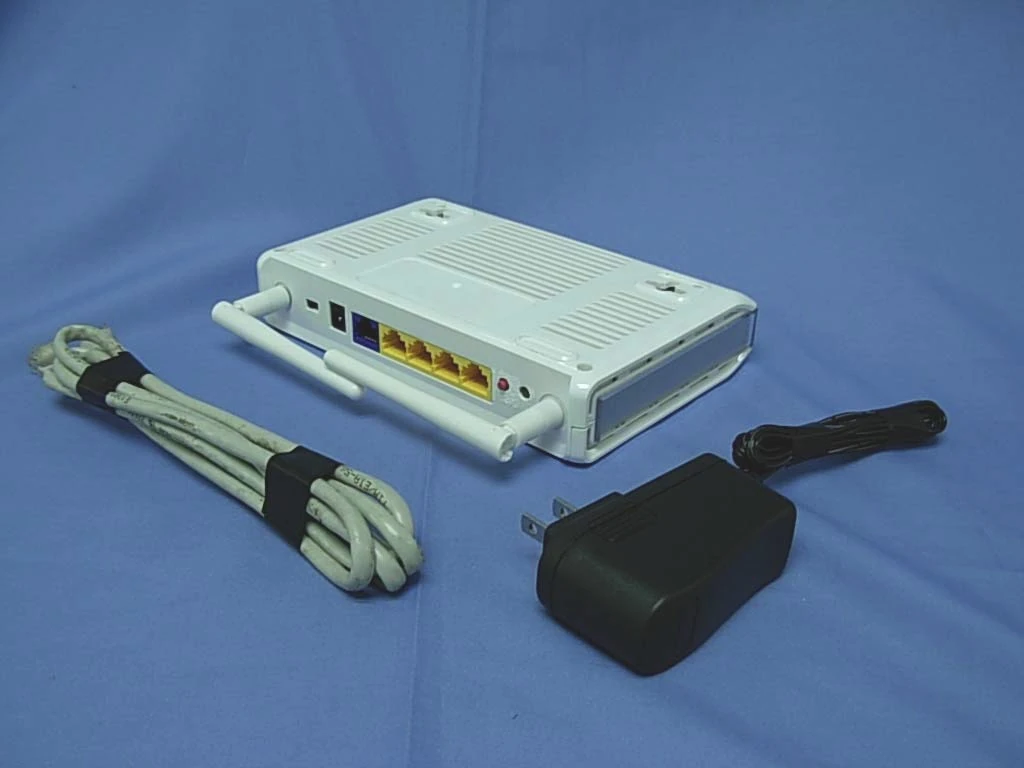
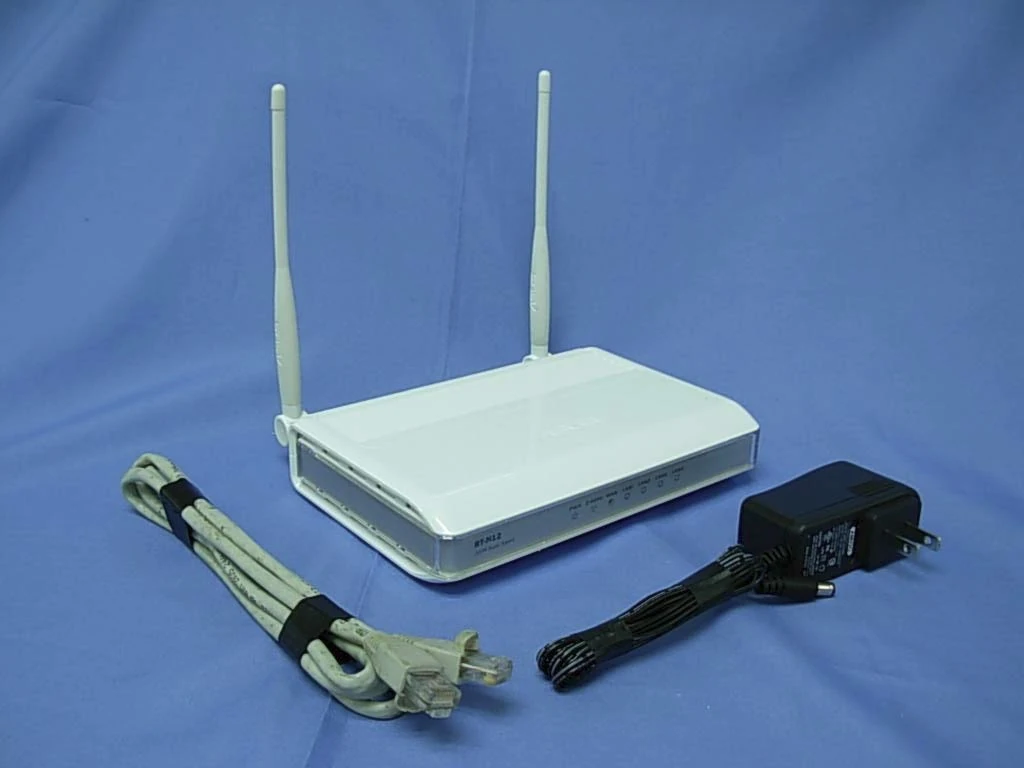
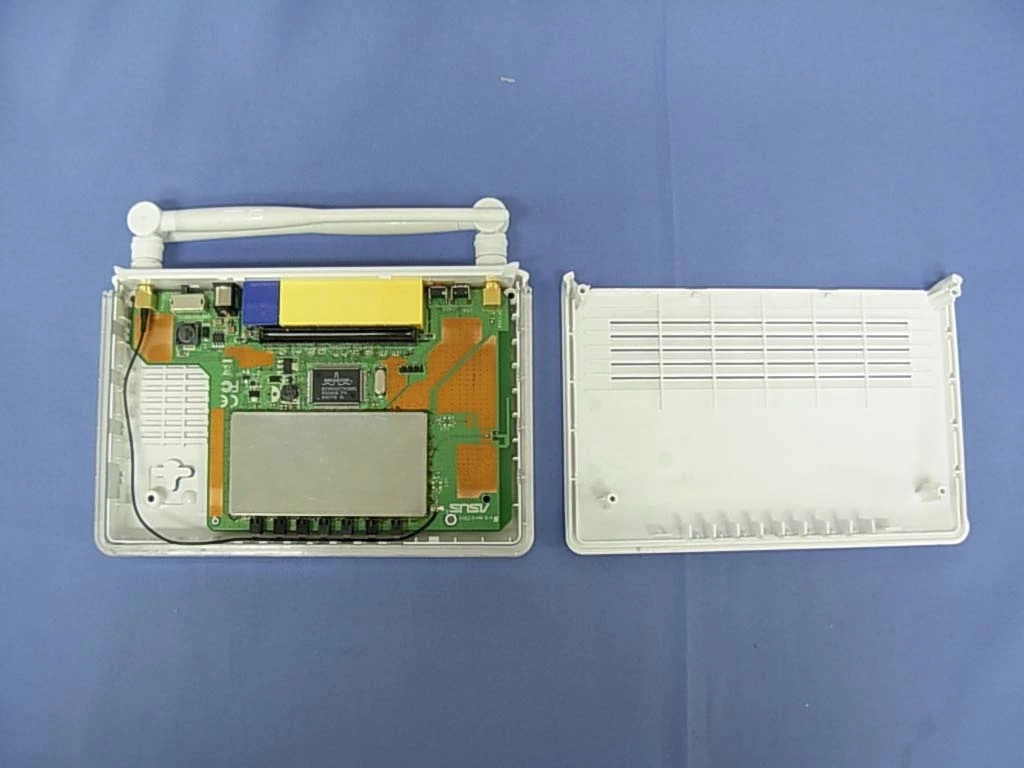
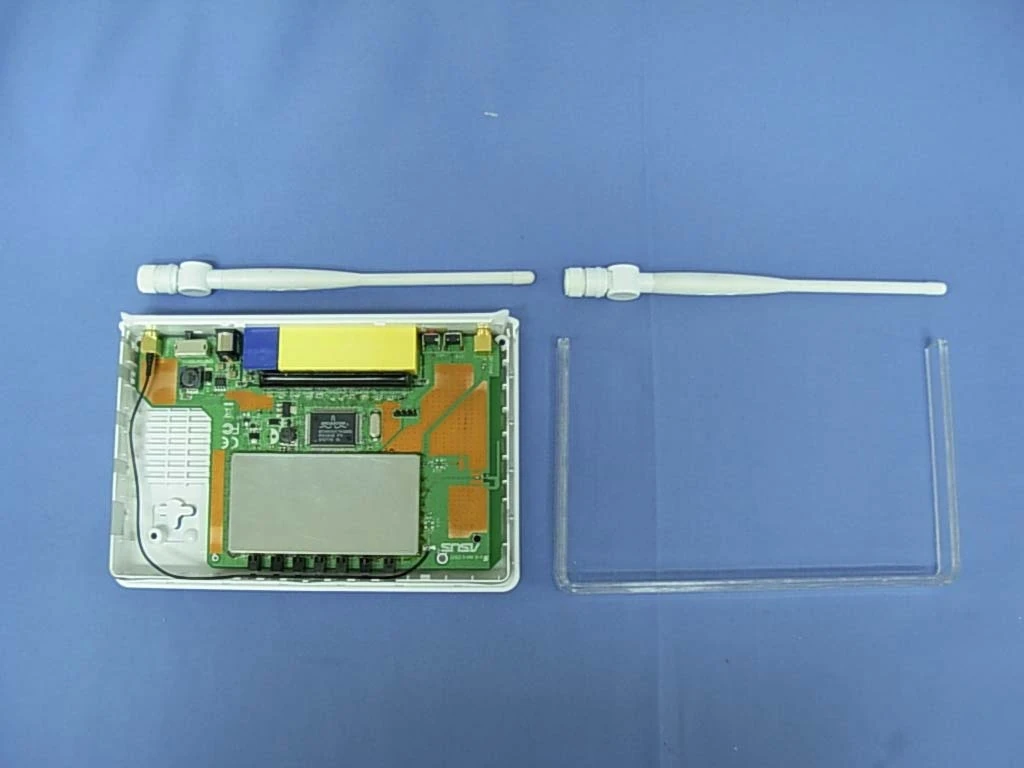
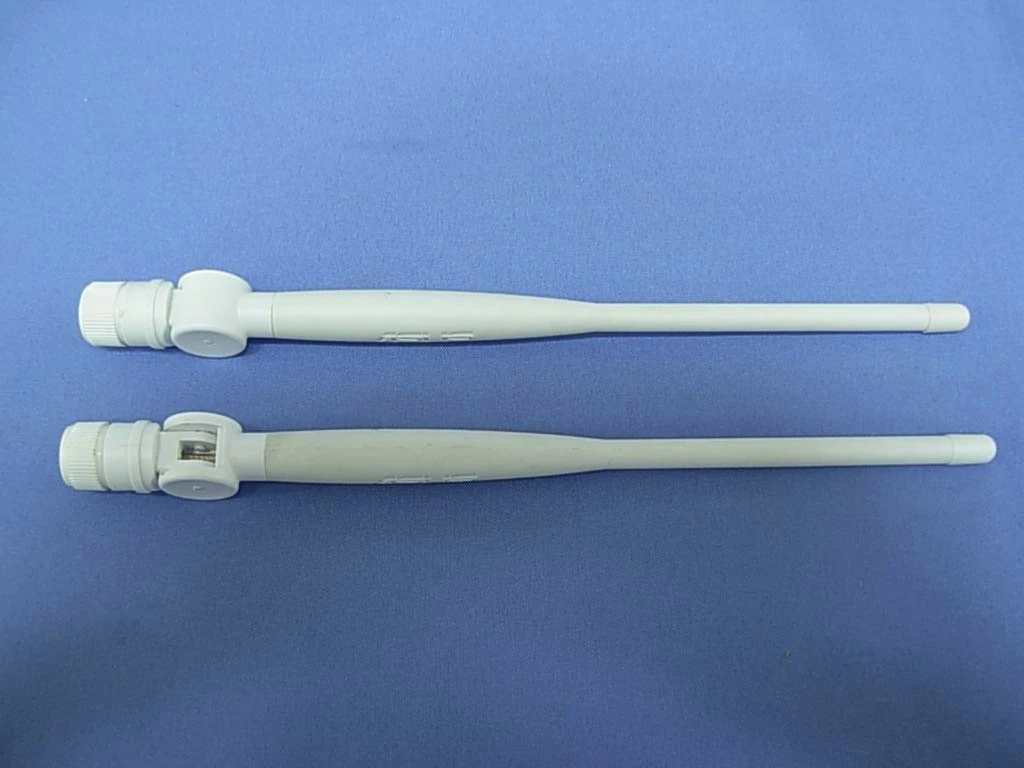
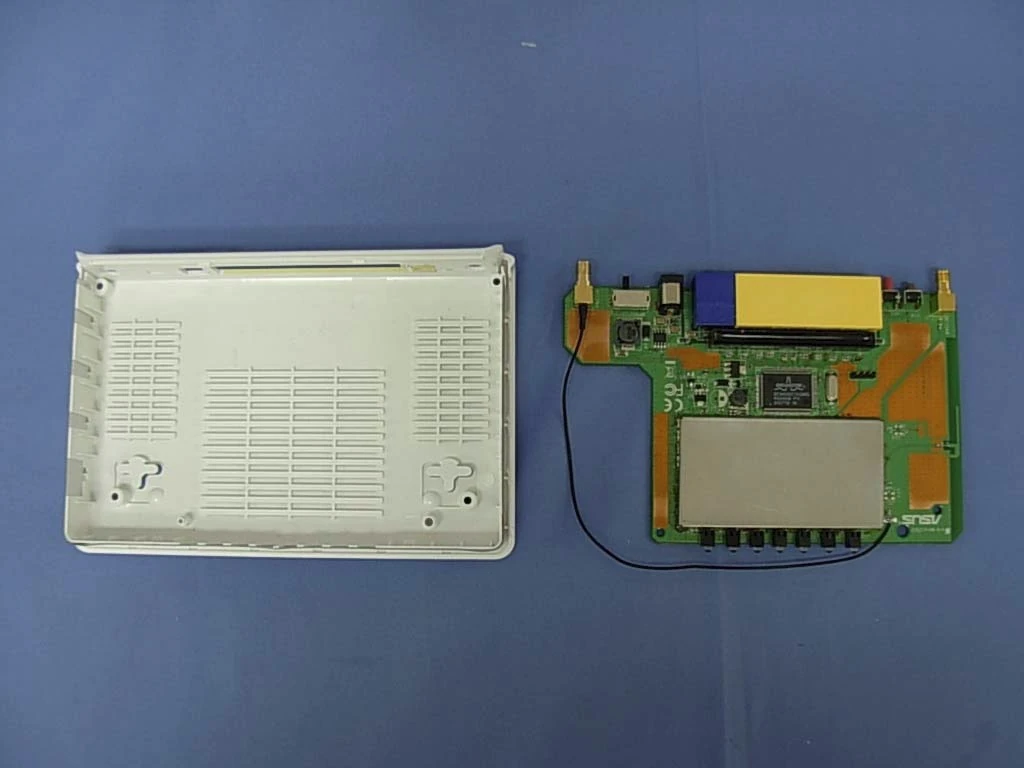
Pictures[]
This section is in need of cleanup!
FCC Pictures[]