Your here: Home / Network / Hardware Specific / Asus / WL-500W
|
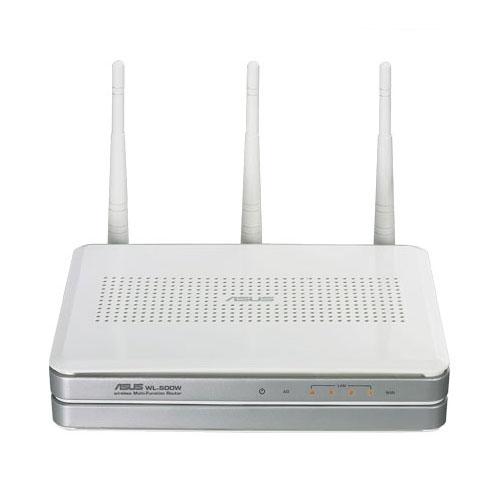
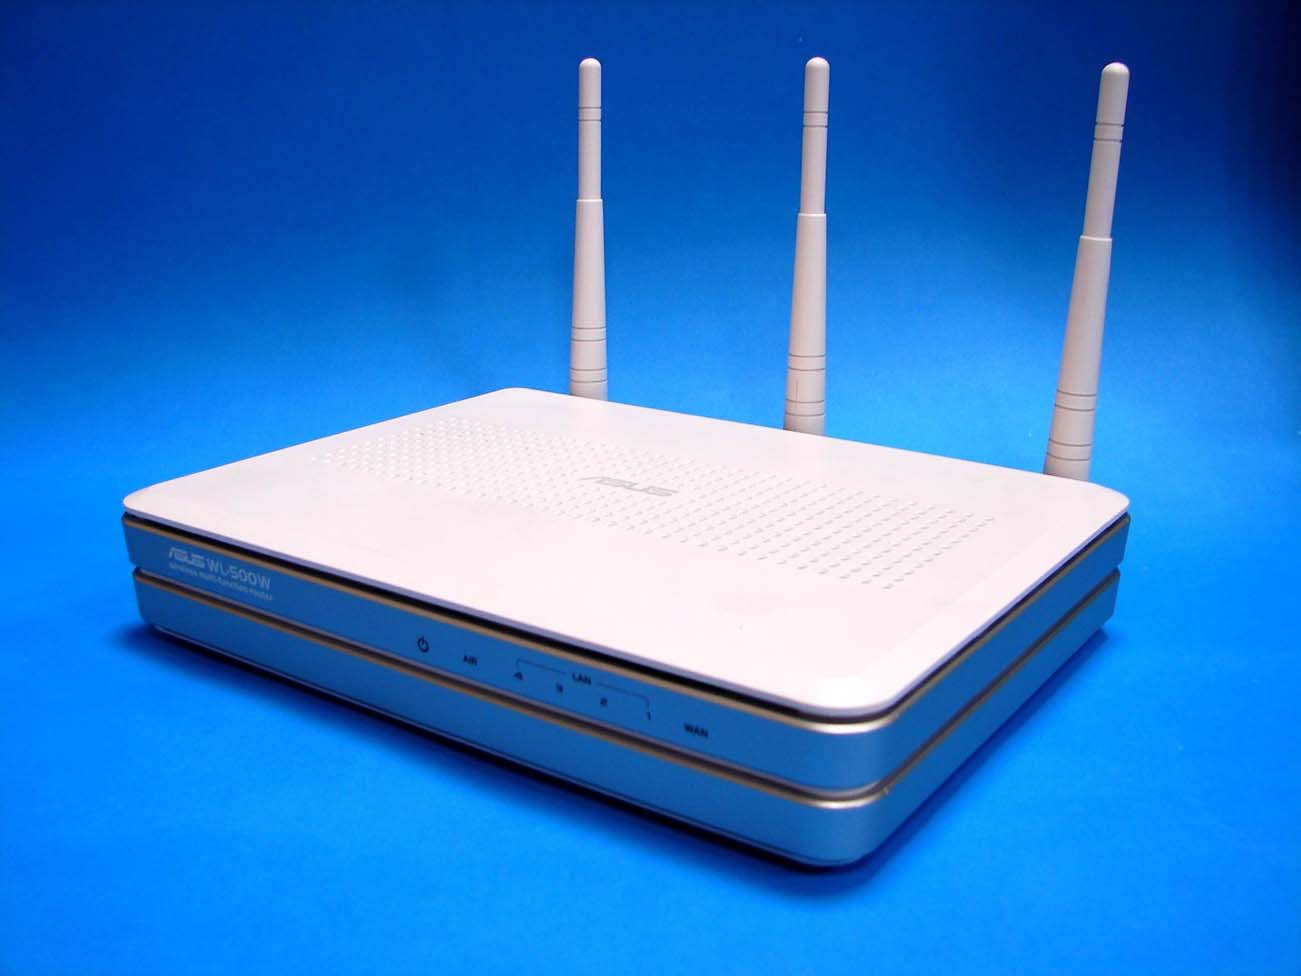
File:Asus WL-500Wa.jpg Multi-Functional Wireless Router |
WARNING: It is recommended to use ASUS Firmware restoration tool for ASUS routers initial flash
(use *.TRX file)
NOTE: During configuration or flashing a device, the only that should be hooked to the device is the computer and power.
Specs
 This section is in need of cleanup!
Platform
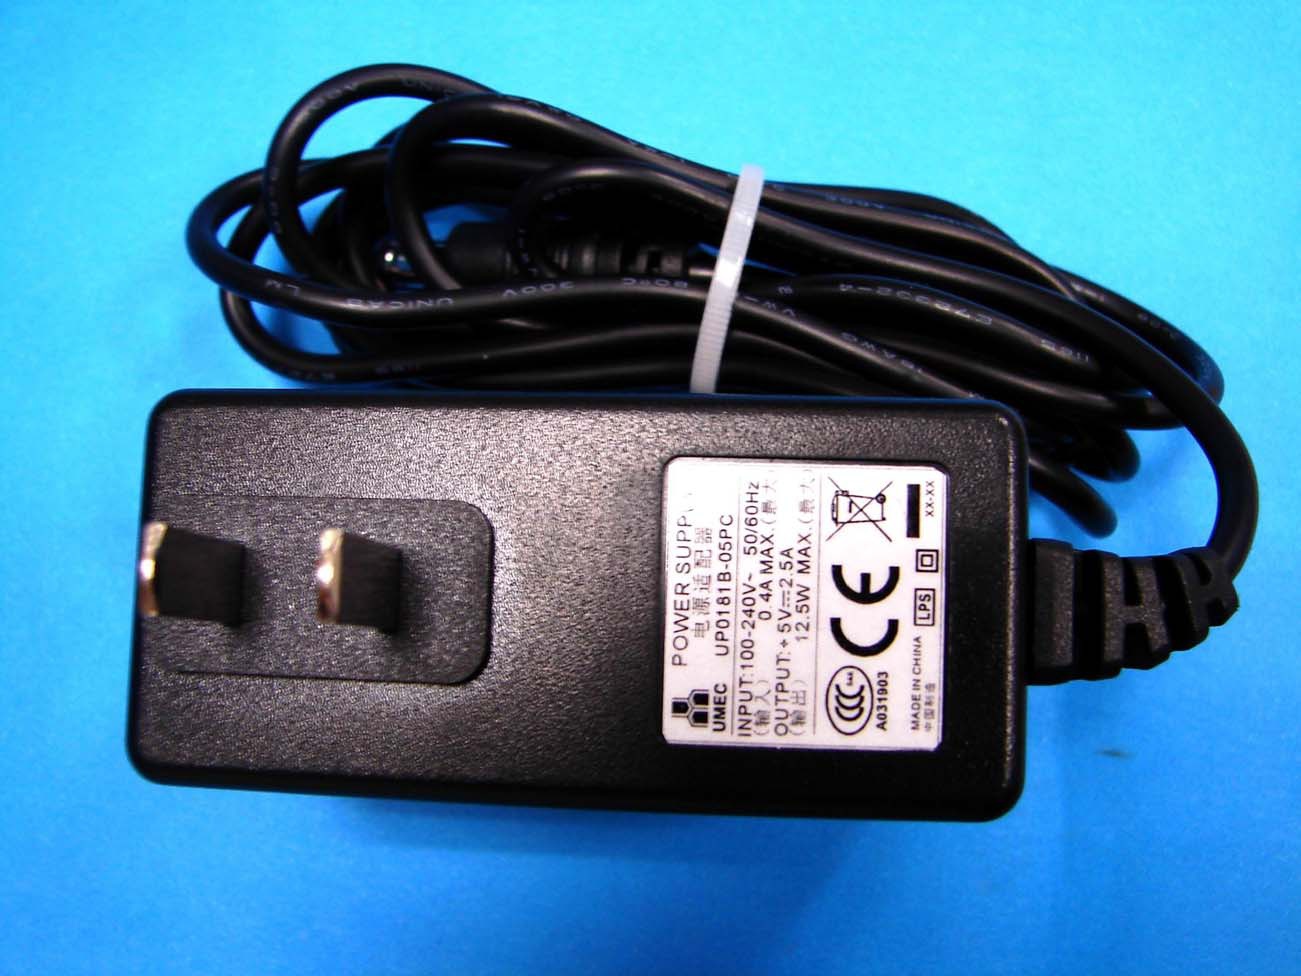
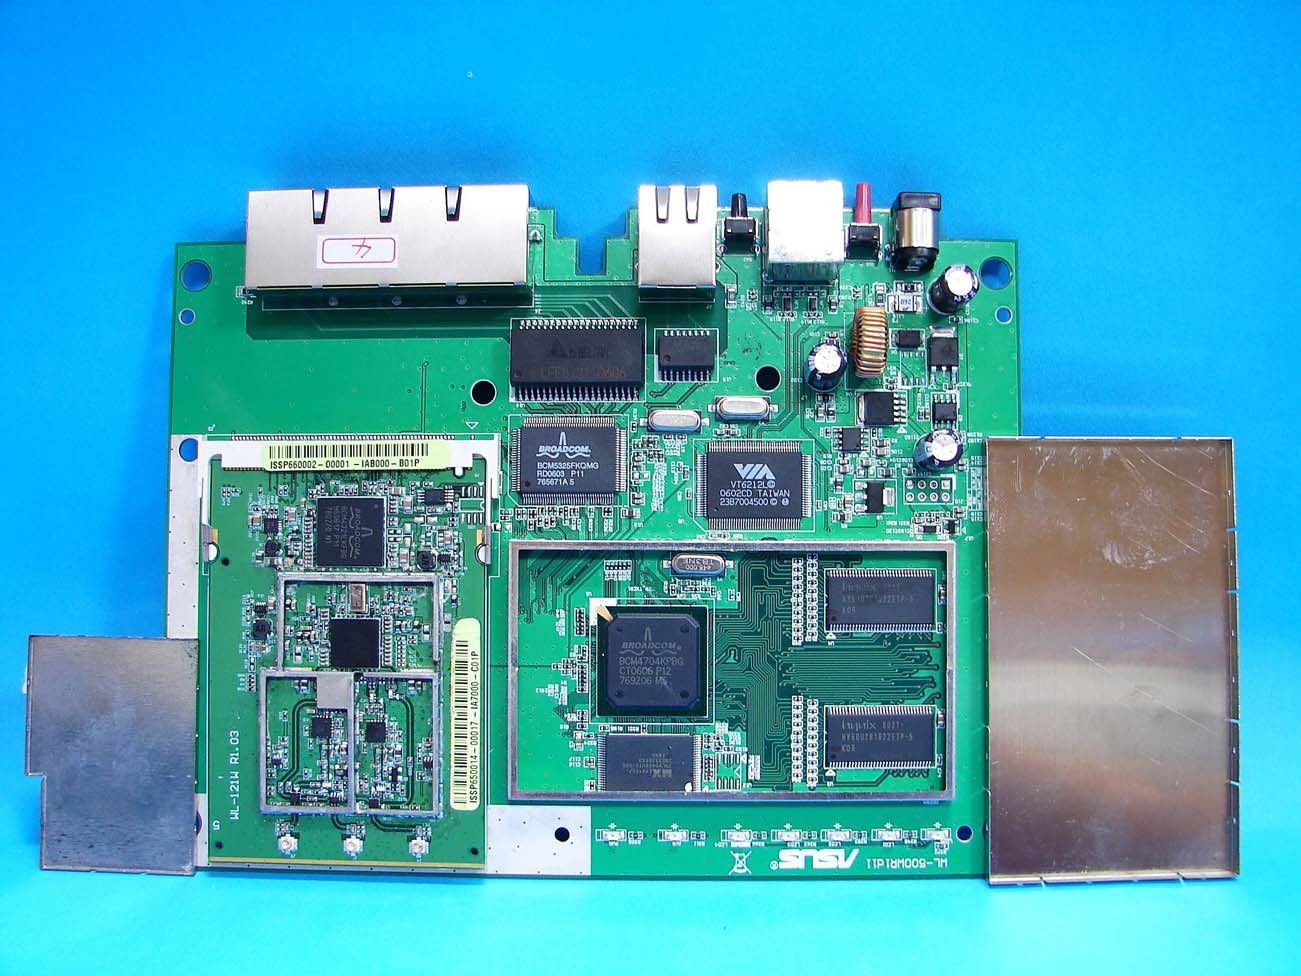
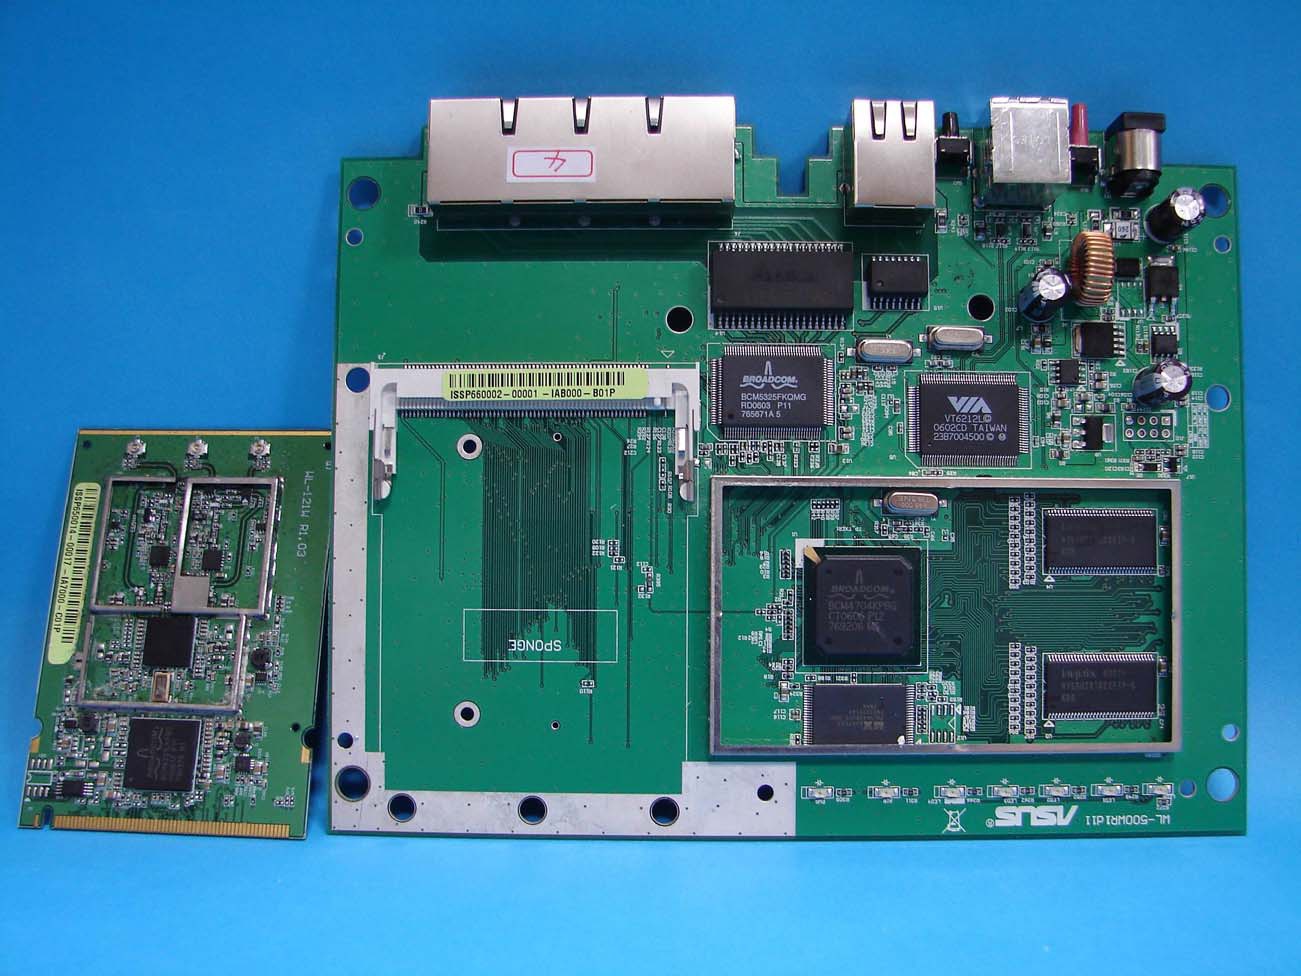
Serial Num. = ?
FCC ID = MSQ-WL500W
CPU Type = Broadcom BCM4704
MIPS Rev = R1
CPU Speed = 264MHz
Bus = ?
Flash Type = Parallel
Flash Chip = MX E061007 29LV640BUTC-90G 2N53300A3
Flash Size = 8MB
Max Firmware Size = 7995392 bytes
RAM Size = 32MB (2x 16MB)
RAM Chip = 2x hynix 602T-HY5DU2B1622ETP-5 K0R
nvram Size = 32kb
Switch = Broadcom BCM5325FKQMG RD0603 P11 765671A 5
Port-based vlan = ?
802.1q vlan = ?
Ethernet Port Count = 1-10/100-WAN 4-10/100-LAN
Wired Standard = IEEE 802.3/3u
boot_wait = ?
bootloader = CFE
Flash Card Socket/Type = No
SD/MMC Mod Support = No
MiniPCI slots = Yes
PoE = No
Power = 5V/2.5A
Color of LEDs = ?
Size = ?
USB = VIA VT6212L 0602CD (2x USB 2.0)
Serial Port = Yes
JTAG Port = No
Supported by TJTAG 3.02 = No
Supported by dd-wrt as of = ?
dd-wrt K2.4 Support = Yes
dd-wrt K2.6 Support = No
Supported by TomatoUSB as of = ?
TomatoUSB K2.4 Support = Yes
TomatoUSB K2.6 Support = ?
Special Features = draft MIMO
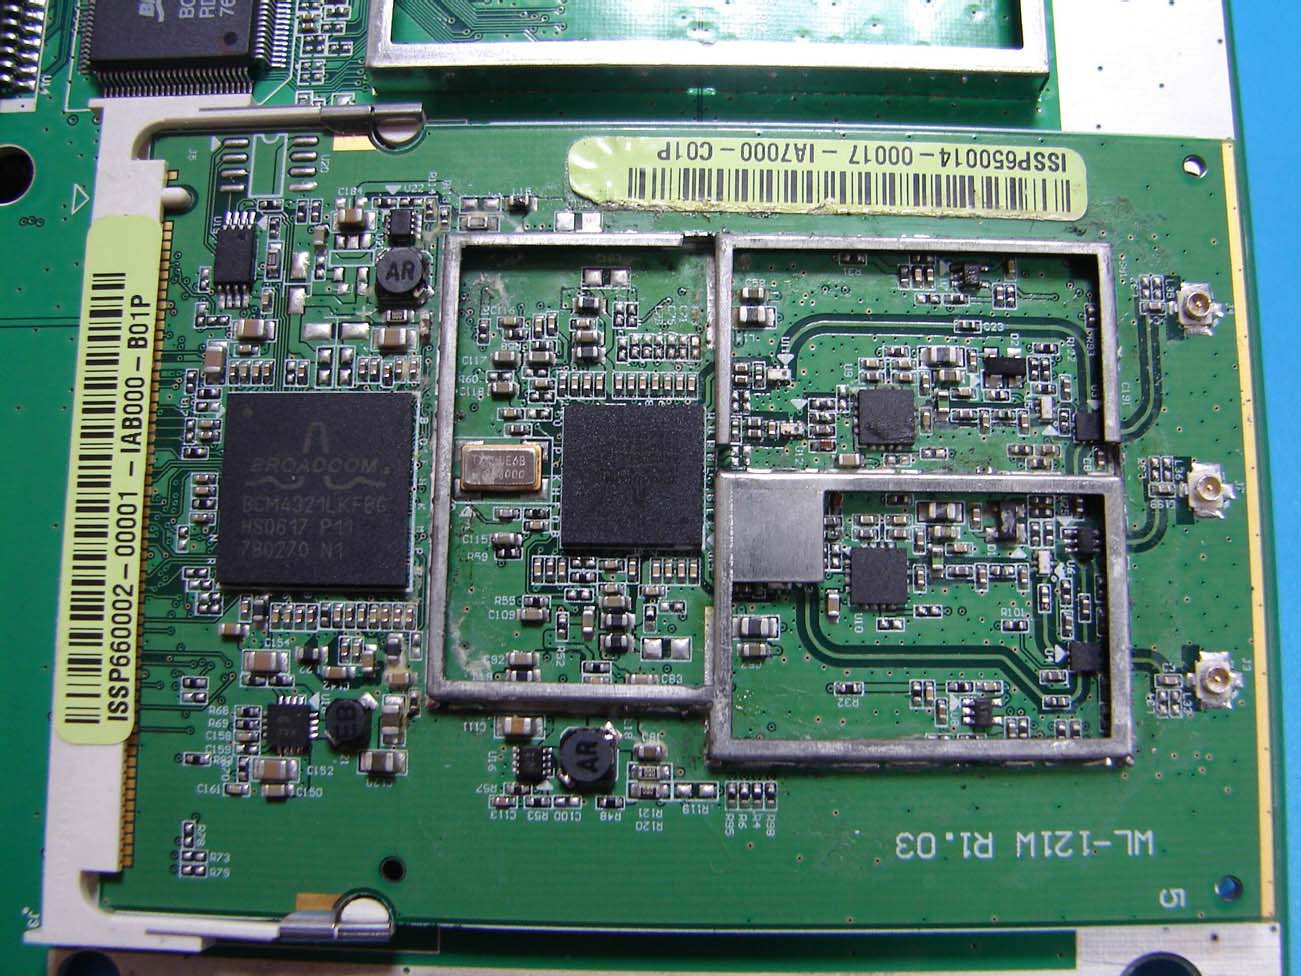
Radio (wl0)
Wireless Radio = Broadcom BCM4321LKFBG HS0617 P11 7B0Z70 N1
WLAN DSP processor = Broadcom BCM2055
Antenna Connector Type = 2x2, Fixed External
Wireless Standard = IEEE 802.11b/g/n
WiFi Operating Frequency = 2.4GHz ~ 2.5GHz
 802.11n Draft @ 14~16dBm = up to 300Mbps
 802.11g @ 12~15dBm = 6, 9, 12, 18, 24, 36, 48, 54Mbps
 802.11b @ 15~18dBm = 1, 2, 5.5, 11Mbps
Channels = 11 for N. America, 14 Japan, 13 Europe (ETSI)
Radio cor_rev = wl0=1
Radio Capabilities = ?
Threads of interest
- Asus WL-500W @ dd-wrt
Flashing
- Source: Asus WL-500W
- Flashing Asus WL-500W
Introduction
This How To is intended to walk someone through configuring a basic USB printer and a USB storage device on their ASUS WL-500W router. The majority of the information comes from the other ASUS WL500 series Wiki's as well as other websites. There are great USB how to articles on the DD-WRT wiki, so if what is listed in this how-to does not suit your needs, search the Wiki and the Forums! And remember Google is your freind!
Firmware
A fresh firmware flash is highly recommended as well as a clearing of the NVRAM. Starting from a clean slate will provide the smallest chance of encountering a random problem as these units can be some-what temperamental. Flash your WL500W router with either the latest DD-WRT Mega firmware (v24 SP2 or later) or the Eko DD-WRT NEWD/NEWD2 Big, or even a mini USB release that includes full USB support in a mini firmware package. Why bother with the reduced functionality of a mini build when this router has 8MB flash?
There are several advantages. The mini is a fraction of the size, yet provides the vast majority of the functionality of the larger builds. For this small sacrifice, you get a much more lean and efficient setup, including...
- A nearly 5.0MB JFFS2 partition
- Nearly 90% free system memory on a fully configured system
- Full USB support, easily enabled from the web GUI (just like Mega)
- Faster, leaner (Merely observational, but noteworthy)
IMPORTANT
Consider the following or you run the risk of BRICKING your router:
Brainslayers mega flash size - 7.33MB
Eko's Big Flash size - 5.9MB
Now, the error only occurs when JFFS2 is enabled and the router reboots, so you are safe if you DONT enable JFFS2.
Total available JFFS2 size for BS's build is 640KB which overwhelms the kernel and causes a panic. Even using a storage device with the command mount -o bind /mnt/jffs /jffs will still cause a kernel panic.
Eko's JFFS2 partition size is 1640KB+, allowing much more room.
I tested this on BS's 12996,12874 and 12533 builds and partially bricked my router several times. (A simple power disconnect for 30 secs will allow it to recover)
Eko's build however works flawlessly AND provides the SAME features (except for connection warning) as BS's.
One thing I am still unsure of is why this particular model Asus router is subject to this bug, but in the mean time, I suggest using Eko's Big build until the dev's can work it out..
Upgrading
If dd-wrt is already on the router follow these instructions. If stock firmware is on the router follow the flashing instructions.
- Check for recommended builds here first.
- Set your computer to a static IP of 192.168.1.7. (or to whatever subnet the router is on) Disable all firewalls and security. Disable wireless on your computer and only have the router connected to the flashing computer by the ethernet cable between the two.
- Hard reset or 30/30/30 (If the router supports it, if not, reset to defults in the GUI) prior to flashing. Wait. Check for password page on re-login and change password.
- Flash firmware. You can use the webgui except if you have a belkin router. (For belkin use tftp.exe to flash)
- Wait...at least three minutes. Lights should return to normal. See important2, below. Failing to wait is how most people brick their routers.
- Do a power cycle of the router. (Unplug the cord, count to 30 and plug it back in.)
- Wait for the lights to return to normal usually about 2 minutes.
- Hard reset or 30/30/30 again (If the router supports it, if not, reset to defults in the GUI). Wait. Check for the password page and re-login to change the password. Then you can reconfigure your settings manually.
- Once configured set your computer back to autoIP and autoDNS.
Important1: This Hard reset or 30/30/30 works fine for Asus router, but you do have to power cycle after the reset.
Important2: After you flash the firmware, and before you do the hard reset, the router will be building some nvram settings. YOU MUST WAIT FOR THIS TO FINISH PRIOR TO DOING ANYTHING WITH THE ROUTER INCLUDING A HARD RESET. Usually, you can tell when this process is completed by the WAN light coming on, but it does take several minutes. Go have a beer. There are starting to be more and more people who BRICK their routers by not waiting until the nvram is rebuilt, PRIOR to doing a hard reset. YOU NEED TO WAIT!
Reverting
You will need the Restoration Utility and the Firmware.
- Reset the router to defaults by the 30/30/30 method but don't power cycle after the last 30 second hold. The router's Power LED should be blinking indicating it is in Restore mode.
- Set a static IP of 192.168.1.10 and 255.255.255.0 on your PC.
- Disable your Wireless devices and connect a cable to one of the LAN ports
- Start the Restoration utility and select the original Asus Firmware. Click Update.
- When it completes the install, wait 5 minutes, then power cycle the router.
- You should be able to access the unit at 192.168.1.1 with un/pw of admin/admin
JTAG/Serial Info
JTAG
No JTAG
Serial
Serial Pinouts
This section is in need of cleanup!
Hyper terminal Setup in Windows XP
In Windows XP, Click Start Button - All Programs - Accessories -
   Communication - HyperTerminal
Enter a name for the connection, Click ok
Choose com port you adapter is plugged into, Click ok
Set:
 Bits per second = 115200
 Data Bits = 8
 Parity = none
 Stop bits = 1
 Flow control = none
Click ok
Click File - Save As, and select a place to save it to so you
             don't have to enter the settings again.
Putty Setup in Windows XP
After installing putty, run it
 Serial line = The COM port your using for serial (ie. COM3)
 Speed = 115200
Click on Serial under Connection
 Serial line to connect to = same as above (Serial line)
 Speed (baud) = 115200
 Data bits = 8
 Stop bits = 1
 Parity = None
 Flow control = None
Click Session
 Enter a name for your connection under saved sessions
Click Save
Click Open
Serial Recovery
This section is in need of Serial Recovery Instructions!
USB Info
The USB port is where you can connect an external USB hard drive or flash drive. Which can do a multitude of things. You can use in as a NAS, storage for a FTP server, use Optware to run external programs like torrent software, samba for sharing files to your network, share a USB printer with your network... The list of possibilities is long, it just takes a little research.
ProFTPd is included in most the newer builds of dd-wrt. Check the features chart to be sure.
A ftp server, file sharing, and a media sever is included in TomatoUSB if your device is compatable.
Initial Prep
- Complete your standard WAN, LAN, DHCP configuration so that your router has working Internet access
- Note: This guide will not explain these details, since they are very well documented elsewhere
- Under Services, enable:
- Secure Shell (SSHd)
- Telnet (optional, select this if you have no idea how to connect to an SSH server)
- USB modules which you need (Core USB support, UHCI, OHCI, USB 2.0, USB Storage, ext2/ext3, FAT, USB Printing, Automatic drive mount)
For example, if you only want to install Optware packages on 2.0 device you can enable : Core USB support, USB 2.0, USB Storage, ext2/ext3 FS support
- Save & then Apply Settings
- Under Administration > Management:
- Enable JFFS2 Support
- Clean JFFS2
- Save & then Apply Settings
- Reboot Router
NOTE If attempting to use USB storage with multiple partitions for /opt , /jffs , /mnt, do NOT enable JFFS2. Once the USB storage is configured, JFFS will reside on the mounted drive partition.
Using Telnet or SSH to install the printer driver
If you wish to keep it simple, you can use the command line in Windows to telnet to your router.
Steps:
- Make sure Telnet is enabled under Services on your router.
- In Windows XP, go to Start->Run and type cmd. A DOS window will pop up.
- Type telnet 192.168.1.1 into the prompt and let it connect.
- Enter the user name (default is root) and press enter.
- Enter the password. Be careful when typing, as the character will not display when you type them in.
- You should now be connected to your router via Telnet with a DD-WRT Splash picture in the DOS prompt.
You must have JFFS2 enabled for the following to work, as well as an EKO Big build. Brainslayers Mega builds will not allow this to work! If you are not using a Big or Mega firmware, then no need to worry!
Steps:
- Type cd /jffs
- Type mkdir -p /jffs/tmp/ipkg
- Type ipkg update
- Type ipkg install p910nd
- Let it install and download the packages.
- Type reboot into the command line.
You're done!
Configure the Printer from a Windows/Linux Client
If planning to use both a printer and take advantage of the USB storage support with the awesome advantages of Optware, go to THIS link. The below information is still useful though even after following the link!
- From Windows, go to Control Panel, Printers, Add Printer
- Choose Local, create new port Standard TCP/IP Port
- Set Device Type to TCP/IP
- For Hostname or IP field, set to router IP (default is 192.168.1.1)
- On Vista, do not query printer for driver
- On next screen, click custom
- Manually select the printer from list or select Have Disk to add a new printer driver
- Note: On Vista, many newer HP Deskjet printers can be set to HP Deskjet 990c since no Vista drivers are available from HP.
Adding USB Storage
ONLY USE HARD DISKS WITH THEIR OWN POWER SUPPLY'S!
-USB Flash drives are ok to use.
USB storage is an ever growing popularity with modern routers. Asus' factory Web-interface is tacky and very buggy. DD-WRT provides a very stable platform for utilizing the twin USB ports on this model router. The section below is perhaps the greatest feature that DD-WRT has to offer as far as USB support is concerned.
If the below is not your cup of tea, the standard options in the DD-WRT Web-interface under Services -> USB will provide you with the basics.
Installing Frater's Optware
This is the latest, greatest and easiest way to enable Optware on your Router, and add an enormous amount of flexibility to it. It is highly recommended.
Please see Optware, The Right Way for more detailed instruction
Potential services that you may want to incorporate through Optware:
- Bash instead of shell in busybox (LFS support)
- Automounting and unmounting of storage device partitions
- Network printing
- Watchprinter
- Torrent transmission with watchdog
- Hotmount
- Pre-configured samba share
- Reverse proxy featuring pound
- Service tool
- Xinetd
- Pound
- Asterisk
- Lighttpd
- Vlighttpd
- Countryblock
- AsiaBlock
- Services running as other users than root
- Vim with proper terminal support
- Twonky Media
- News Server
- Other various useful tools
vlan Info
 This section is in need of cleanup!
Pictures


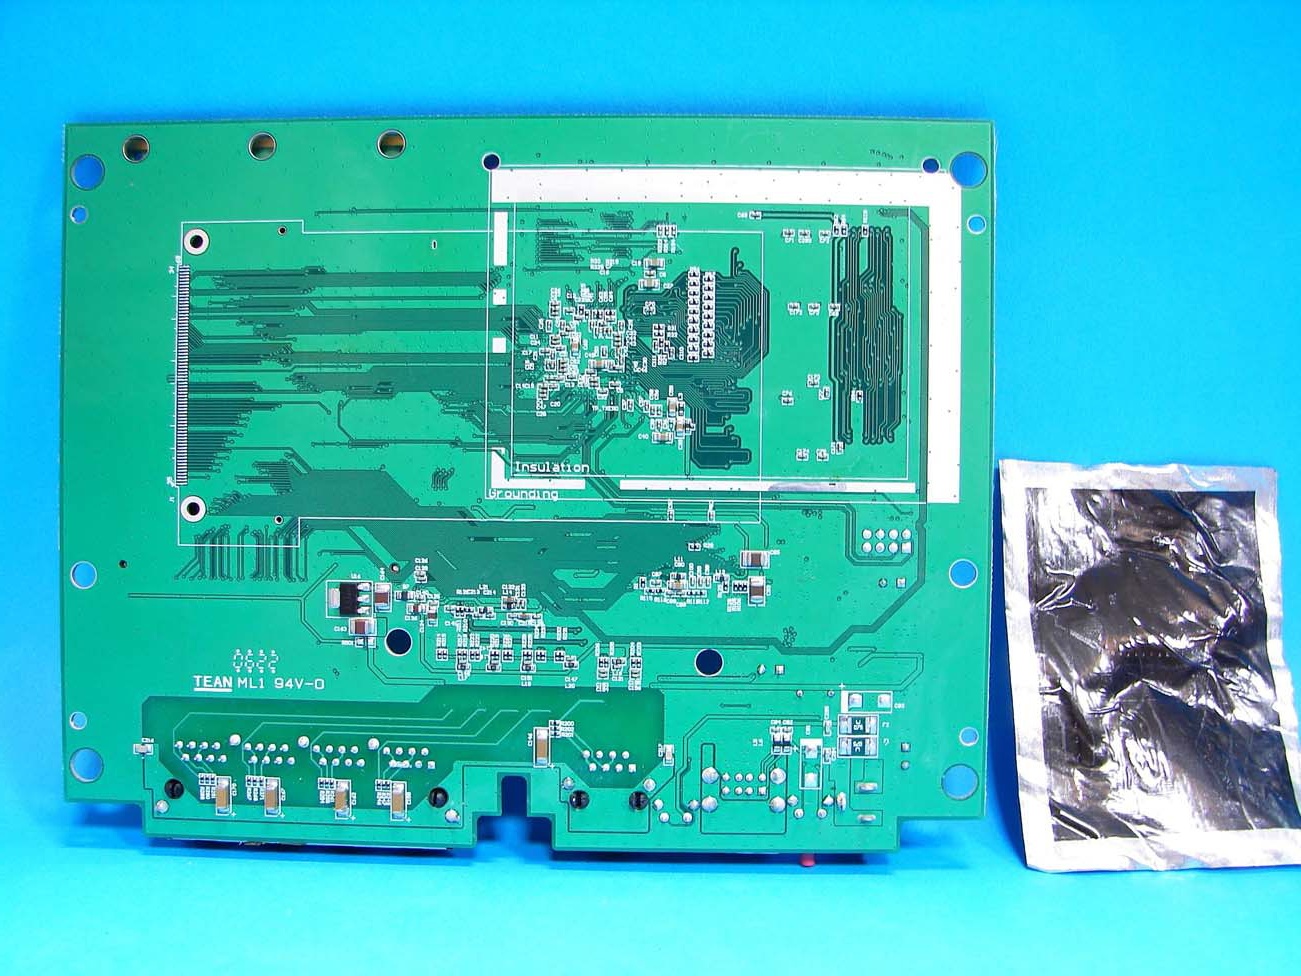
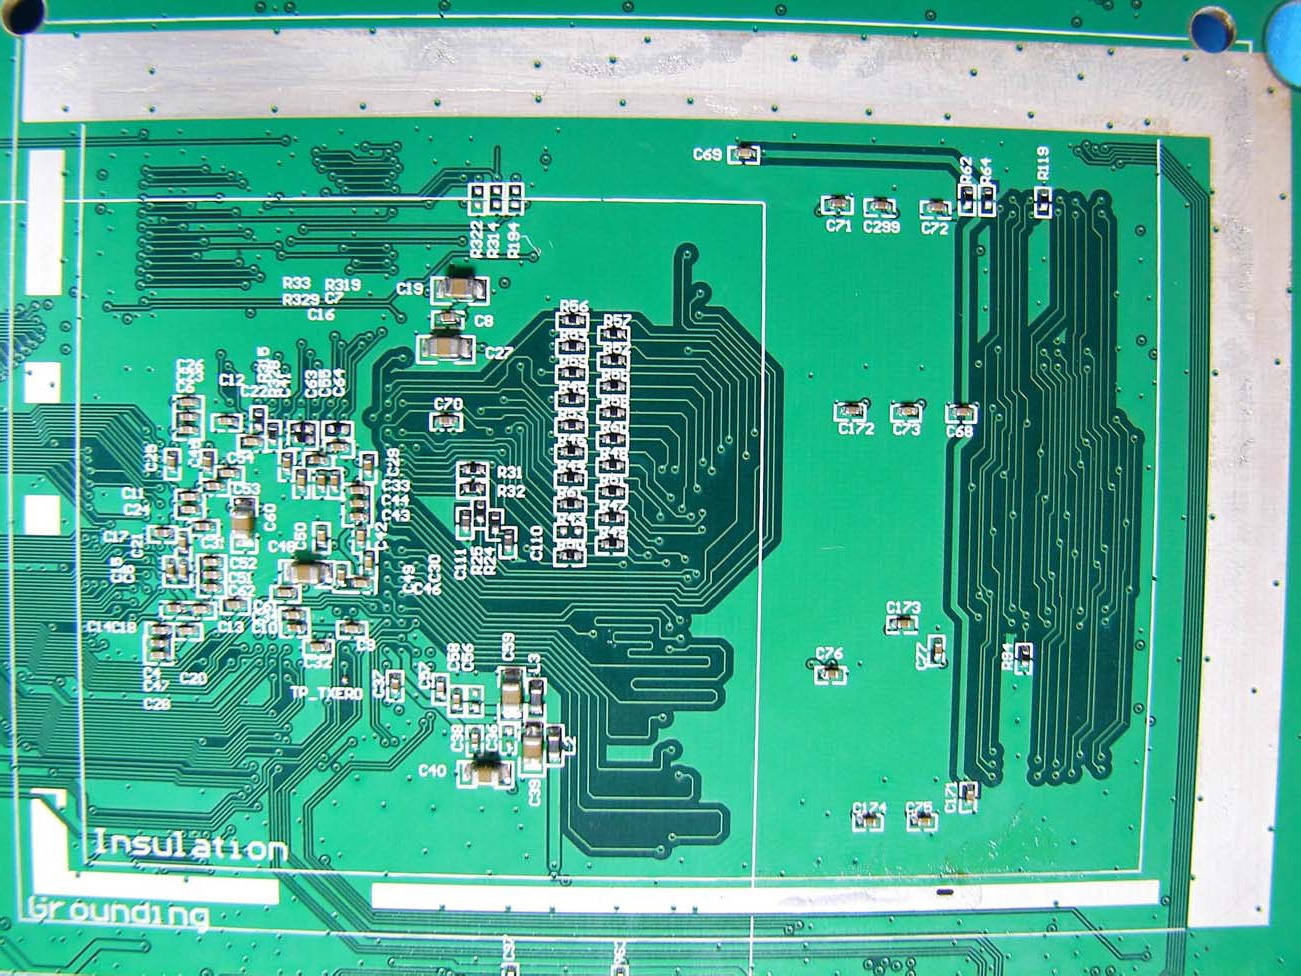
FCC Pictures


Notes
Hardware Modz