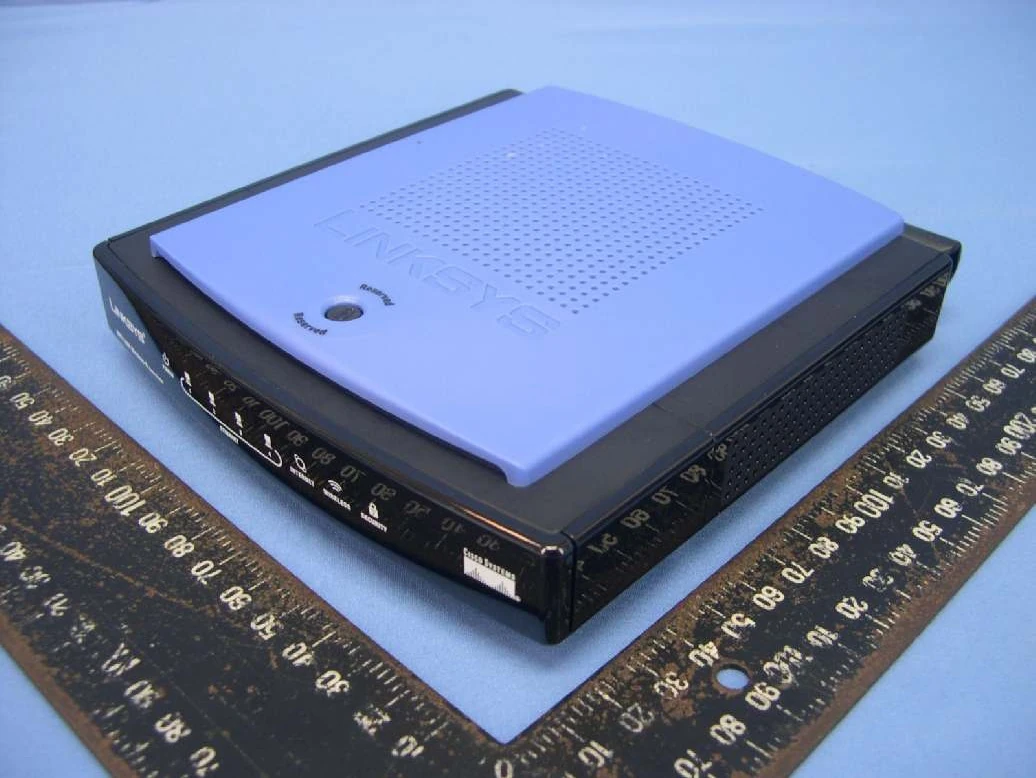
Your here: Home / Network / Hardware Specific / Cisco-Linksys / WRT150N v1.1
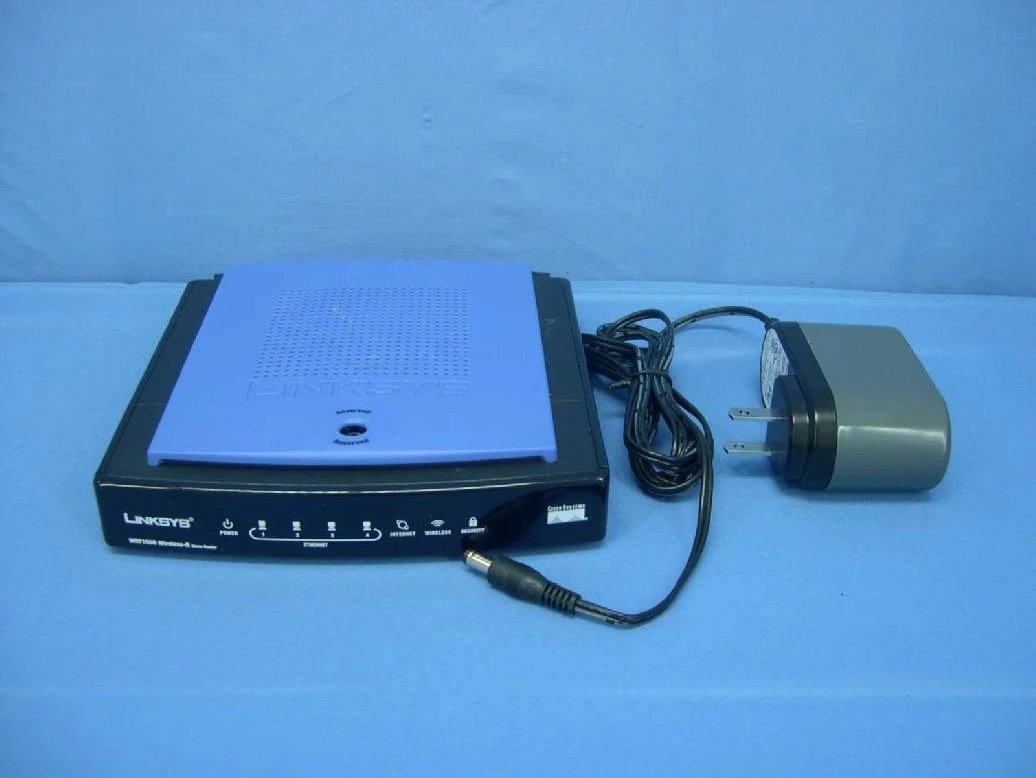
| File:Linksys_WRT150Na.jpg |
NOTE: Do Not flash micro this router.
NOTE: During configuration or flashing a device, the only that should be hooked to the device is the computer and power.
Specs[]
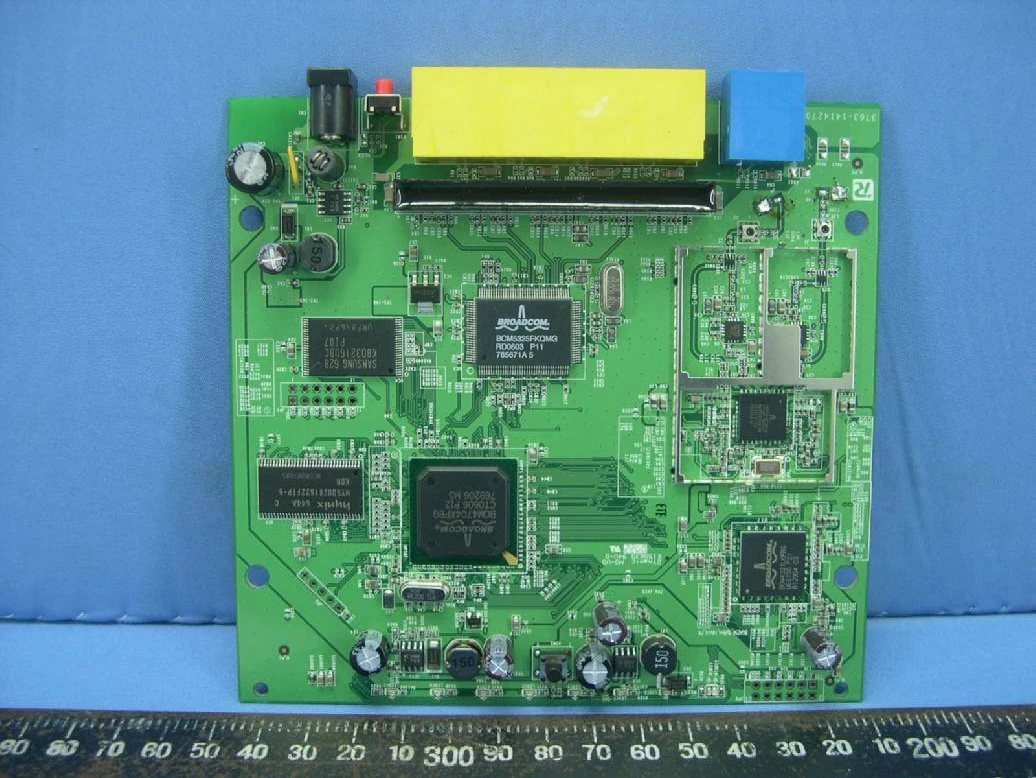
Platform
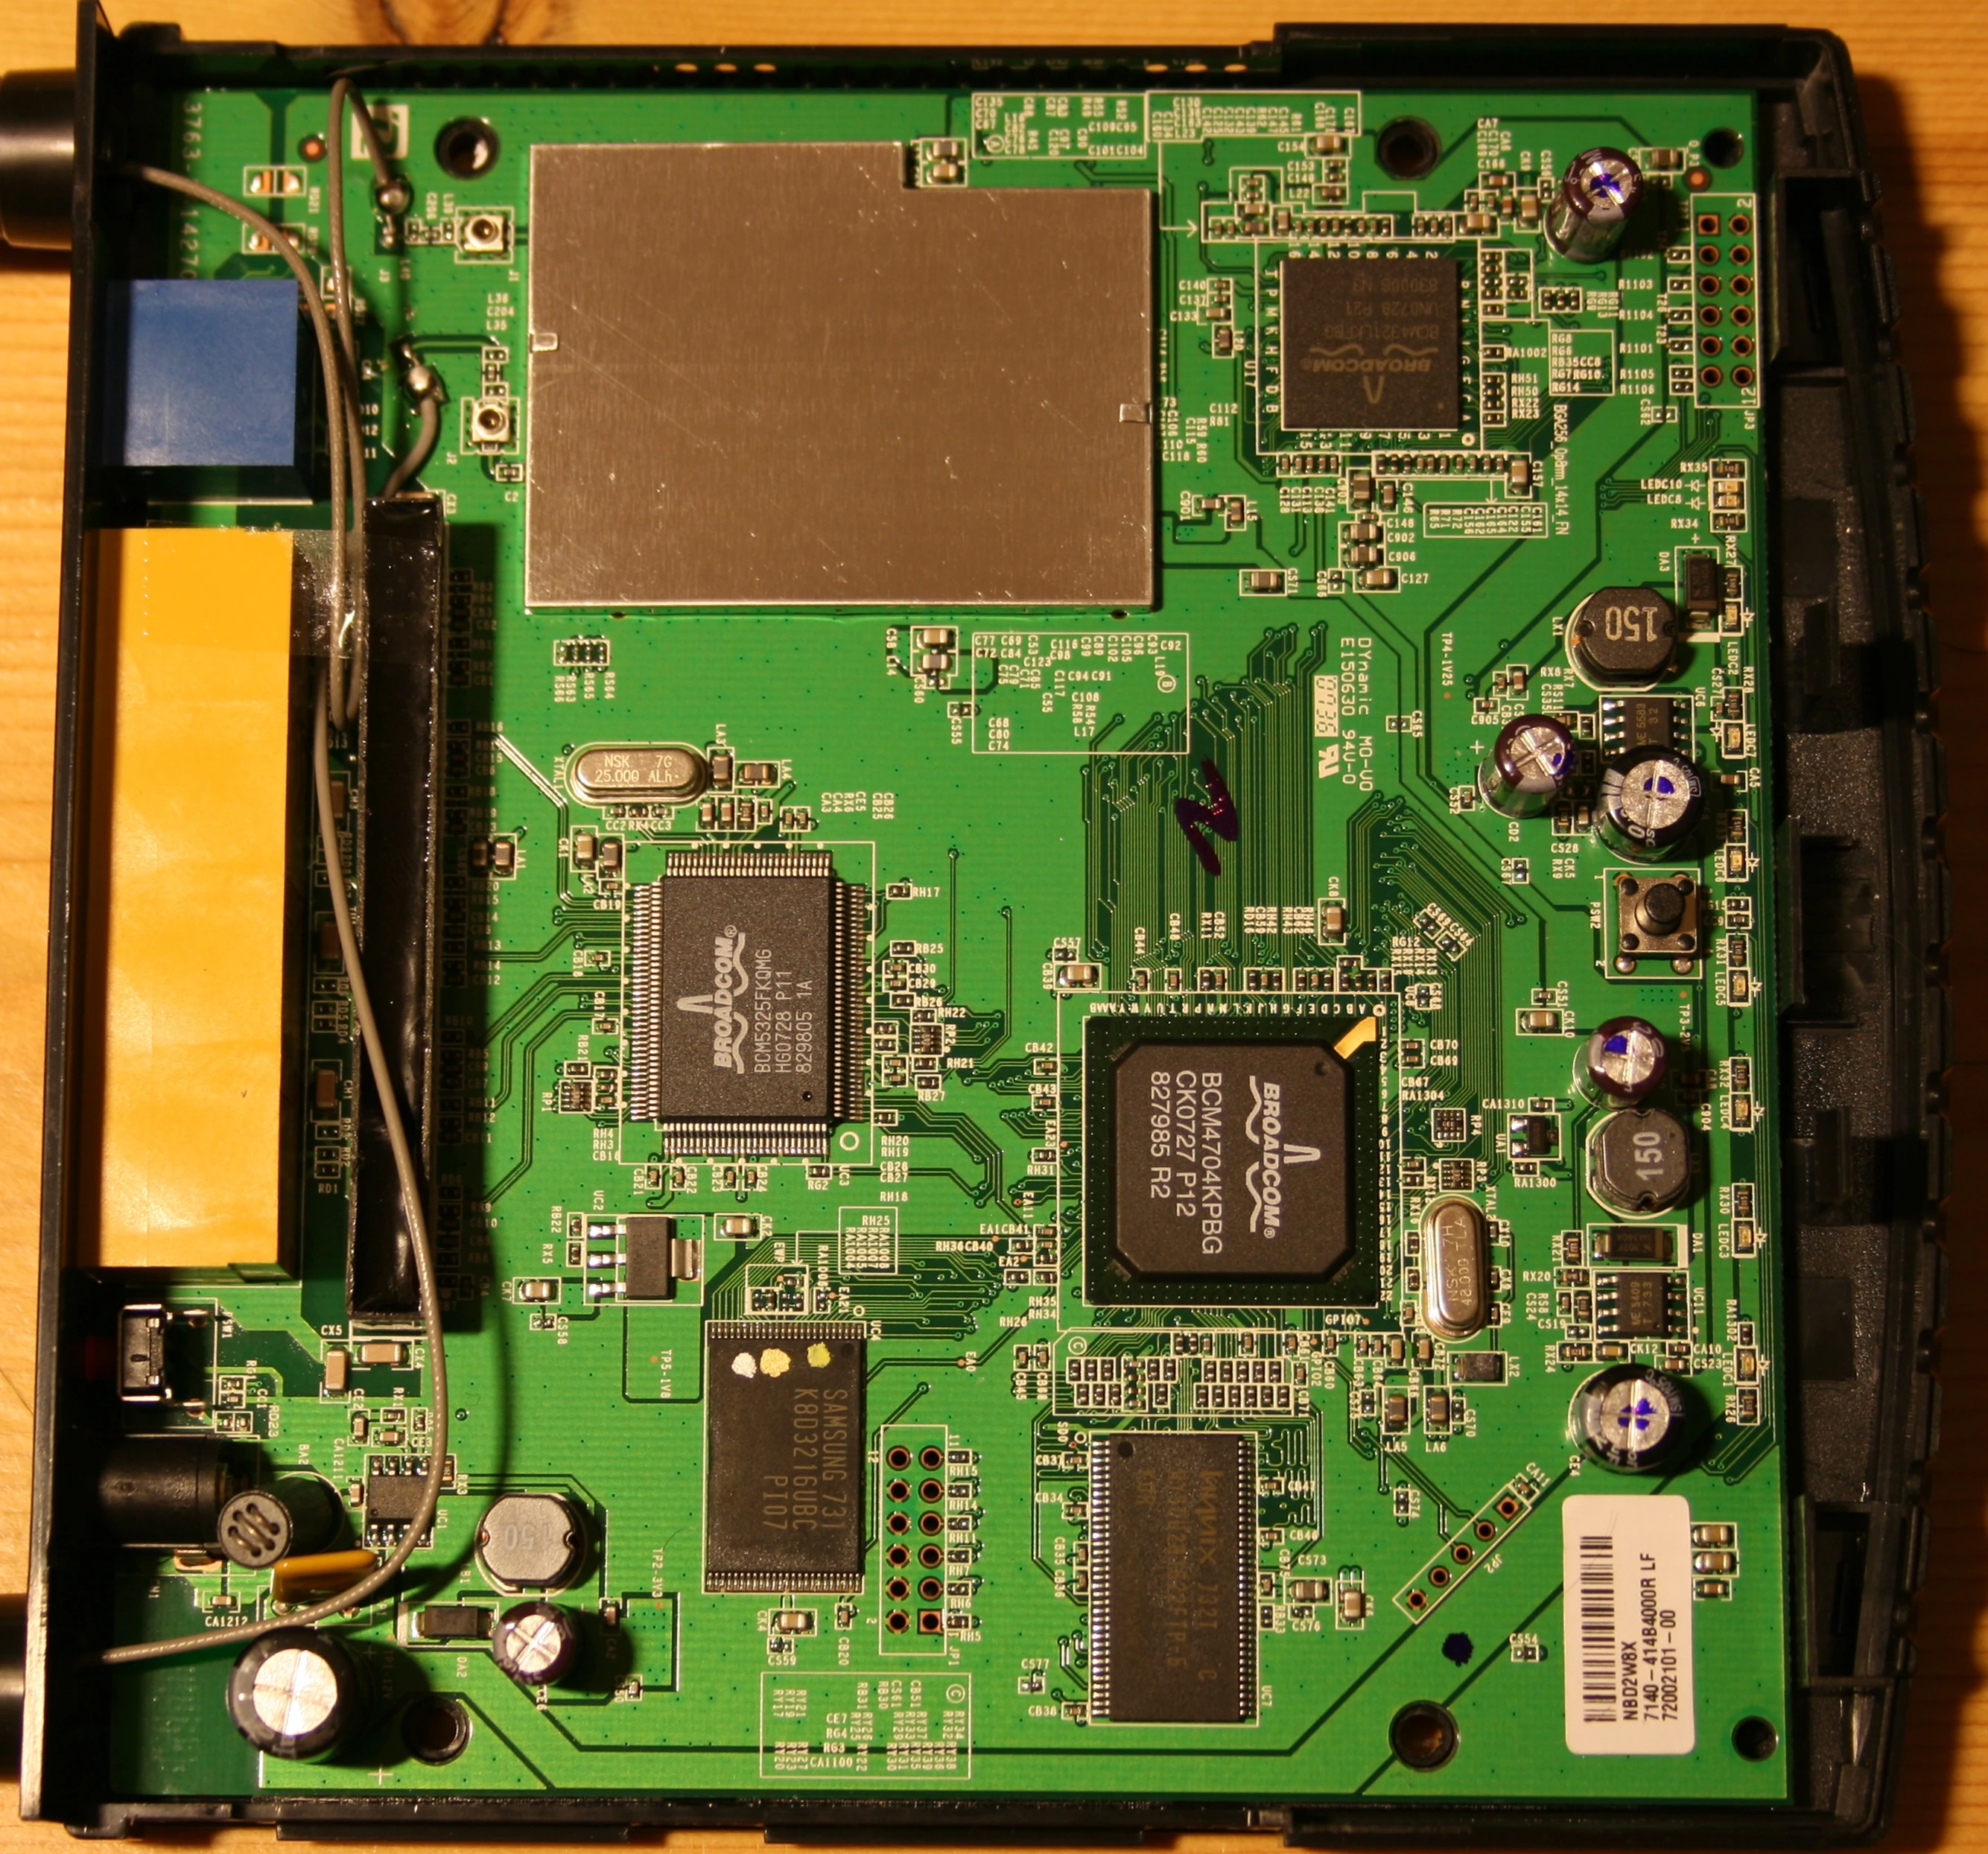
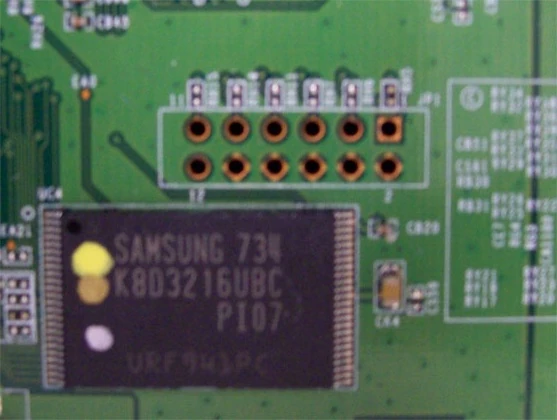
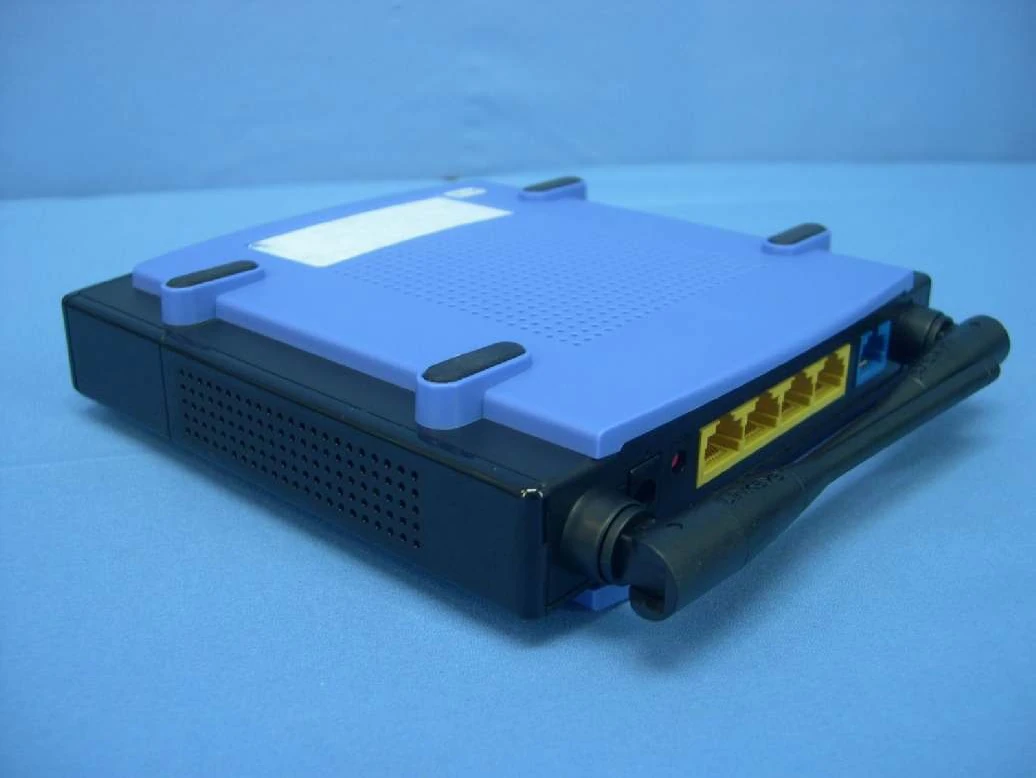
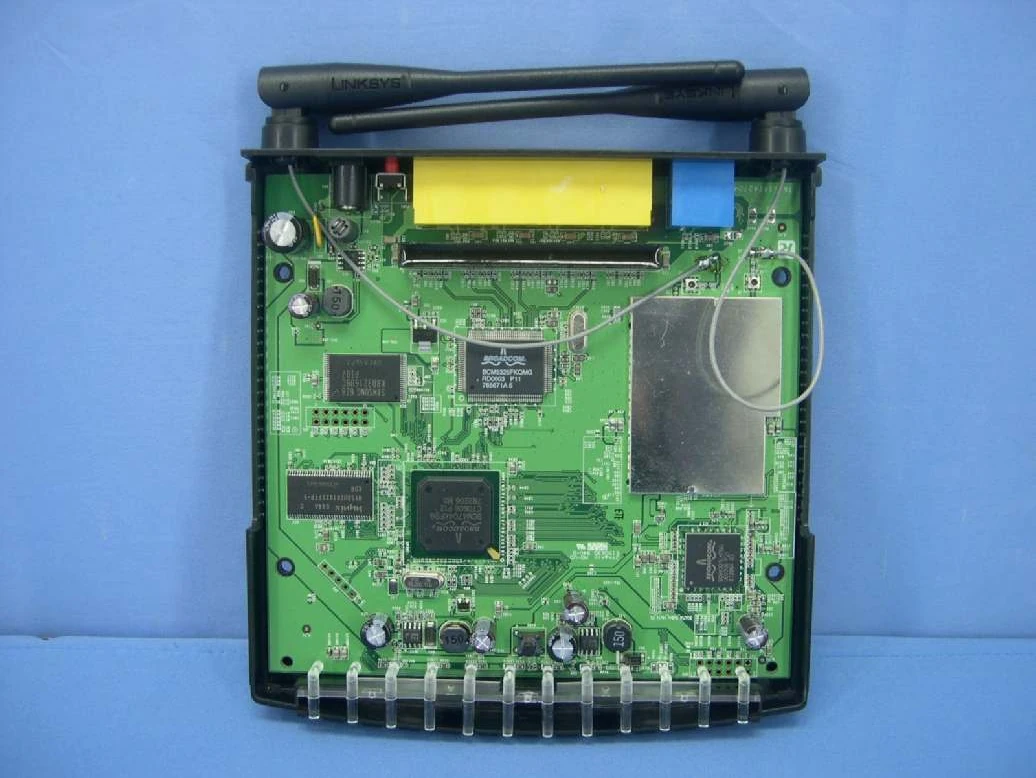
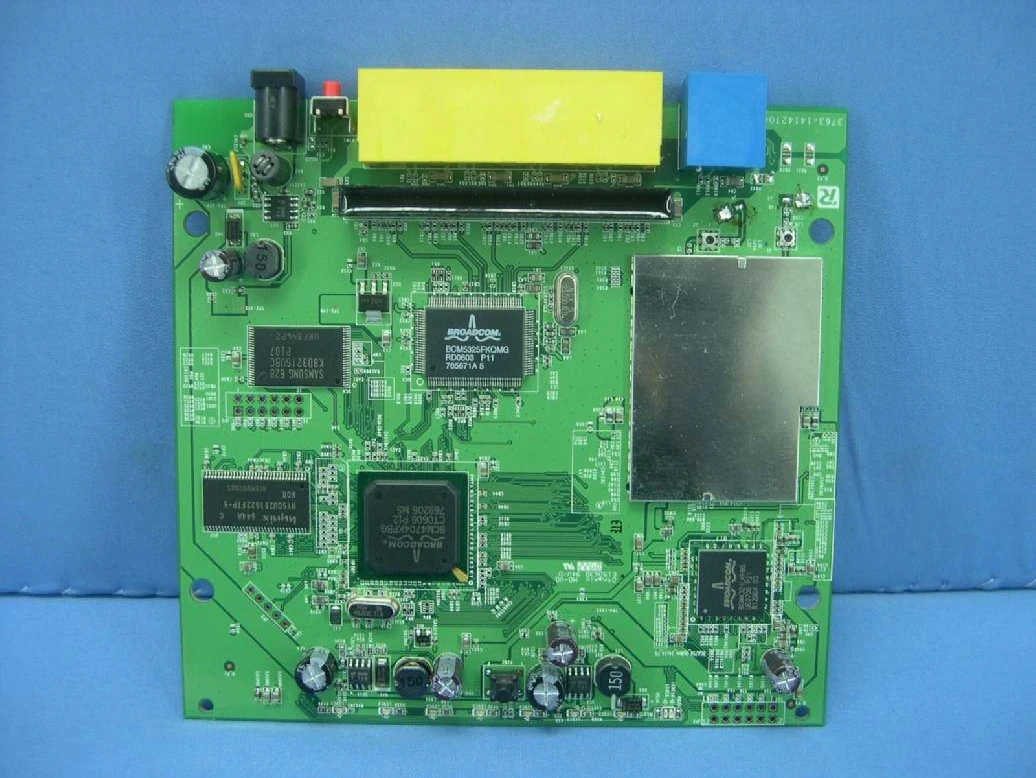
Serial Num. = CQ611
FCC ID = Q87-WRT150NV11
CPU Type = Broadcom BCM4704KPBG CK0713 P12 817031 R2 (BCM4704)
MIPS Rev = ?
CPU Speed = 264MHz
Bus = ?
Flash Type = Parallel
Flash Chip = Samsung 734 K8D3216UBC PI07
Flash Size = 4MB
Max Firmware Size = 3801088 bytes
RAM Size = 16MB
RAM Chip = Hynix HY50U281622FTP-5
nvram Size = 32kb
Switch = Broadcom BCM5325FKQMG RG0646 P11 802936 1A (BCM5325)
Port-based vlan = LAN ports only
802.1q vlan = LAN ports only
Ethernet Port Count = 1-10/100 WAN 4-10/100 LAN
Wired Standard = IEEE 802.3/3u
boot_wait = On
bootloader = CFE
Flash Card Socket/Type = No
SD/MMC Mod Support = No
MiniPCI slots = No
PoE = No
Power = 12V/1.0A
Color of LEDs = ?
Size = 5.9 x 6.7 x 1.5 in
USB = No
Serial Port = Yes
JTAG Port = Yes
Supported by TJTAG/Version = Yes/3.02
Supported by dd-wrt as of = v24
dd-wrt K2.4 Support = Yes
dd-wrt K2.6 Support = No
Special Features = ?
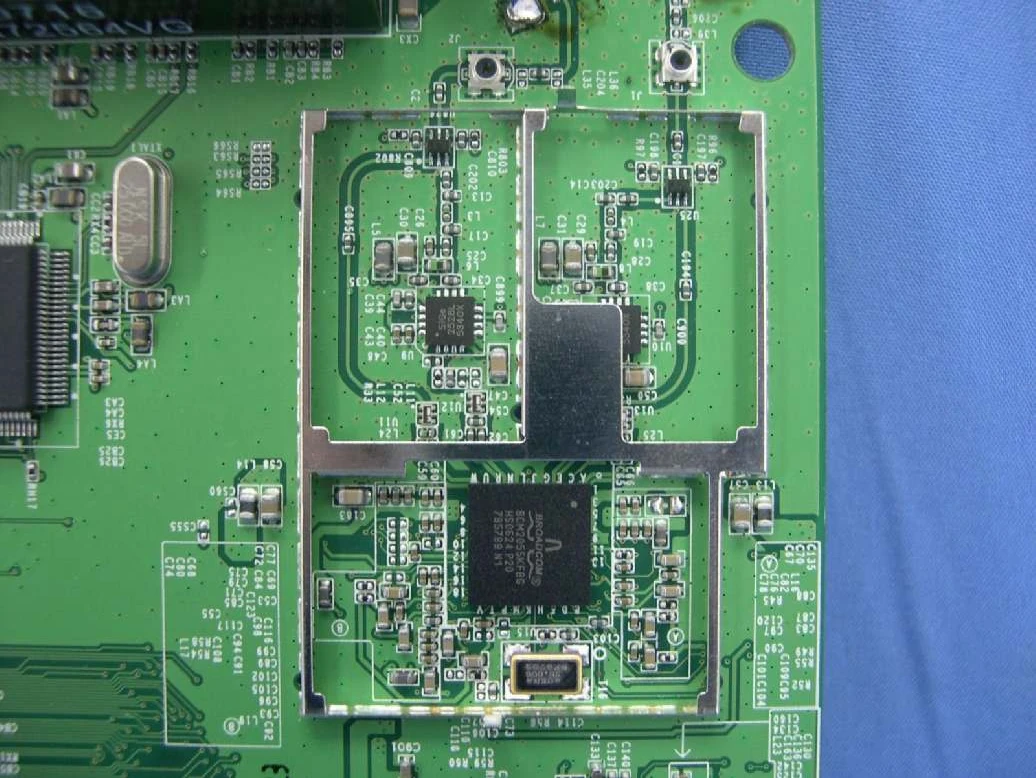
Radio (wl0)
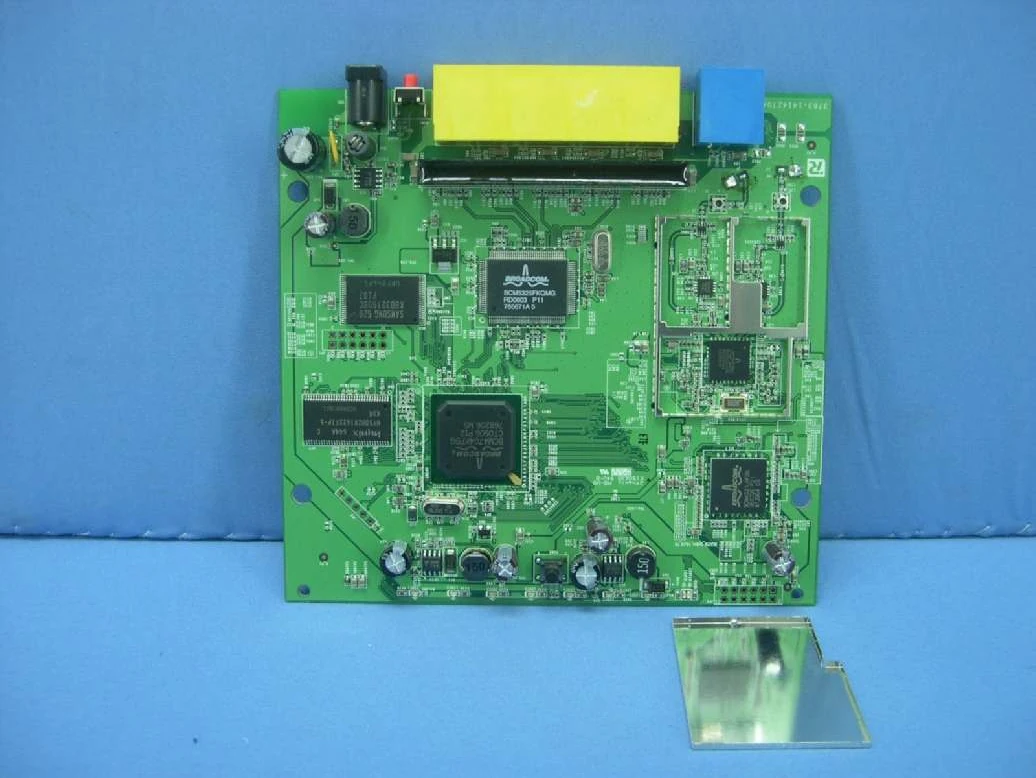
Wireless Radio = Broadcom BCM2055KFB6 HE0719 P20 822522 N3
           (BCM2055)
WLAN DSP processor = Broadcom BCM4321LKFBG UN0722 P21 824300 N3
                     (BCM4321)
Antenna Connector Type = External Fixed
Wireless Standard = IEEE 802.11b/g/n
WiFi Operating Frequency = 2.4GHz
 802.11n Draft = up to 300Mbps
 802.11g = 6, 9, 12, 18, 24, 36, 48, 54Mbps
 802.11b = 1, 2, 5.5, 11Mbps
Radio cor_rev = 12
Radio Capabilities = ap sta wet led wme 802.11d 802.11h rm cqa
                     mbss4 afterburner
Recommended TX Power = 28mW
Links of Interest[]
- VLANs don't work per Eko
Flashing[]
- Read the Peacock Announcement
- Download THIS Newd_Mini file. ftp://dd-wrt.com/others/eko/V24_TNG/svn12548/dd-wrt.v24-12548_NEWD_mini.bin.
- Ensure you have a physical ethernet connection to your router, and disable your wireless adapter, antivirus/firewall protection, and any software that makes strong use of your network (BitTorrent, Streaming Audio/Video, etc).
- Perform a hard 30/30/30 reset.
- Navigate to http://192.168.1.1/ in your web browser of choice.
- Enter no username, and the password "admin".
- Go to the administration tab. Click on firmware upgrade.
- Browse to the .bin file you downloaded in step 2
- Click on the upgrade button and WAIT for the upgrade successful message.
- Power cycle your router. Wait until you can see the DD-WRT password screen at [1].
- Perform another 30/30/30 reset on your router. Wait until you can see the password screen at [2].
- Set a new username and password, and continue on to configure your router like normal.
You can now upgrade to any generic DD-WRT build except Mega and Micro. Be sure to always do a hard reset prior to flashing another build, do a power cycle followed by another hard reset after flashing, and NEVER re-use a configuration file from a previous build or another router. Always reconfigure from scratch.
Upgrading[]
If dd-wrt is already on the router follow these instructions. If stock firmware is on the router follow the flashing instructions.
- Check for recommended builds here first.
- Set your computer to a static IP of 192.168.1.7. (or to whatever subnet the router is on) Disable all firewalls and security. Disable wireless on your computer and only have the router connected to the flashing computer by the ethernet cable between the two.
- Hard reset or 30/30/30 (If the router supports it, if not, reset to defults in the GUI) prior to flashing. Wait. Check for password page on re-login and change password.
- Flash firmware. You can use the webgui except if you have a belkin router. (For belkin use tftp.exe to flash)
- Wait...at least three minutes. Lights should return to normal. See important2, below. Failing to wait is how most people brick their routers.
- Do a power cycle of the router. (Unplug the cord, count to 30 and plug it back in.)
- Wait for the lights to return to normal usually about 2 minutes.
- Hard reset or 30/30/30 again (If the router supports it, if not, reset to defults in the GUI). Wait. Check for the password page and re-login to change the password. Then you can reconfigure your settings manually.
- Once configured set your computer back to autoIP and autoDNS.
Important1: This Hard reset or 30/30/30 works fine for Asus router, but you do have to power cycle after the reset.
Important2: After you flash the firmware, and before you do the hard reset, the router will be building some nvram settings. YOU MUST WAIT FOR THIS TO FINISH PRIOR TO DOING ANYTHING WITH THE ROUTER INCLUDING A HARD RESET. Usually, you can tell when this process is completed by the WAN light coming on, but it does take several minutes. Go have a beer. There are starting to be more and more people who BRICK their routers by not waiting until the nvram is rebuilt, PRIOR to doing a hard reset. YOU NEED TO WAIT!
Reverting[]
 This section is in need of cleanup!
JTAG/Serial Info[]
JTAG[]
JTAG Pinouts[]
nTRST   1o o2	GND
  TDI   3o o4	GND
  TDO   5o o6	GND
  TMS   7o o8	GND
  TCK   9o o10	GND
nSRST  11o o12  N/C
Using Universal JTAG Adapter
white    1o o2	 black
  red    3o o4	 GND
 blue    5o o6	 GND
green    7o o8	 GND
yelow    9o o10  GND
orange  11o o12  N/C
JTAG Recovery[]
- Backup CFE x2 (Compare the files, they must match exactly or there is something wrong with your JTAG setup)
- Erase Wholeflash x2
- Flash CFE
- Unplug Power
- Unplug JTAG Cable
TFTP:
- Set Rig ip static 192.168.1.10
- Plug network cable from rig to port 1
- Plug in power
- click upgrade.
- wait, wait, wait. If you cannot browse the GUI of the router, return to step 1.
- Hard Reset 30\30\30
Serial[]
Serial Pinouts[]
VCC  1 o
 TX  2 o
 RX  3 o
N/C  4 o
GND  5 o
Hyper terminal Setup in Windows XP[]
In Windows XP, Click Start Button - All Programs - Accessories -
   Communication - HyperTerminal
Enter a name for the connection, Click ok
Choose com port you adapter is plugged into, Click ok
Set:
 Bits per second = 115200
 Data Bits = 8
 Parity = none
 Stop bits = 1
 Flow control = none
Click ok
Click File - Save As, and select a place to save it to so you
             don't have to enter the settings again.
Putty Setup in Windows XP[]
After installing putty, run it
 Serial line = The COM port your using for serial (ie. COM3)
 Speed = 115200
Click on Serial under Connection
 Serial line to connect to = same as above (Serial line)
 Speed (baud) = 115200
 Data bits = 8
 Stop bits = 1
 Parity = None
 Flow control = None
Click Session
 Enter a name for your connection under saved sessions
Click Save
Click Open
Serial Recovery[]
This section is in need of Serial Recovery Instructions!
vlan Info[]
1 2 3 4 | case labels
0 1 2 3 | nvram port numbers
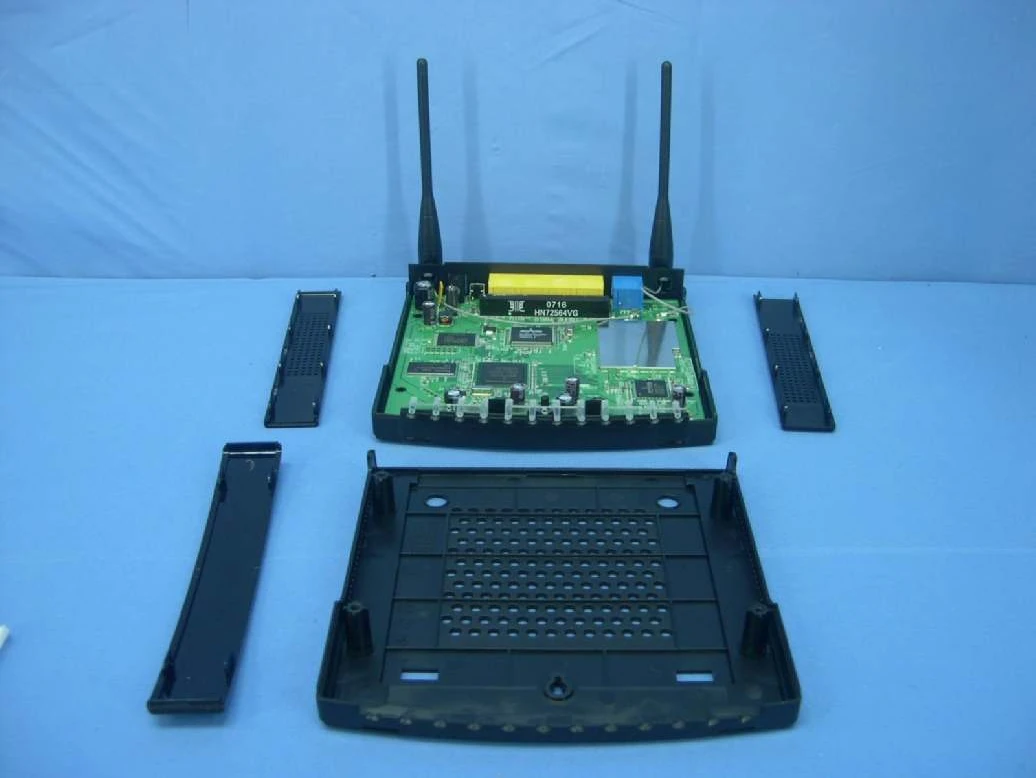
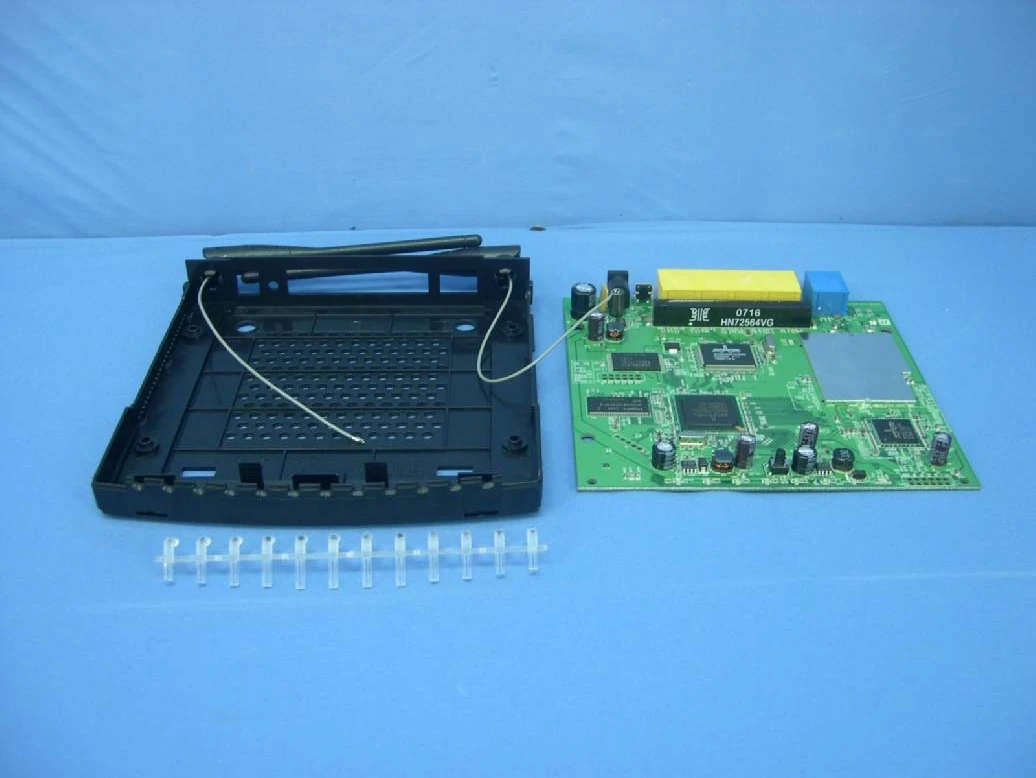
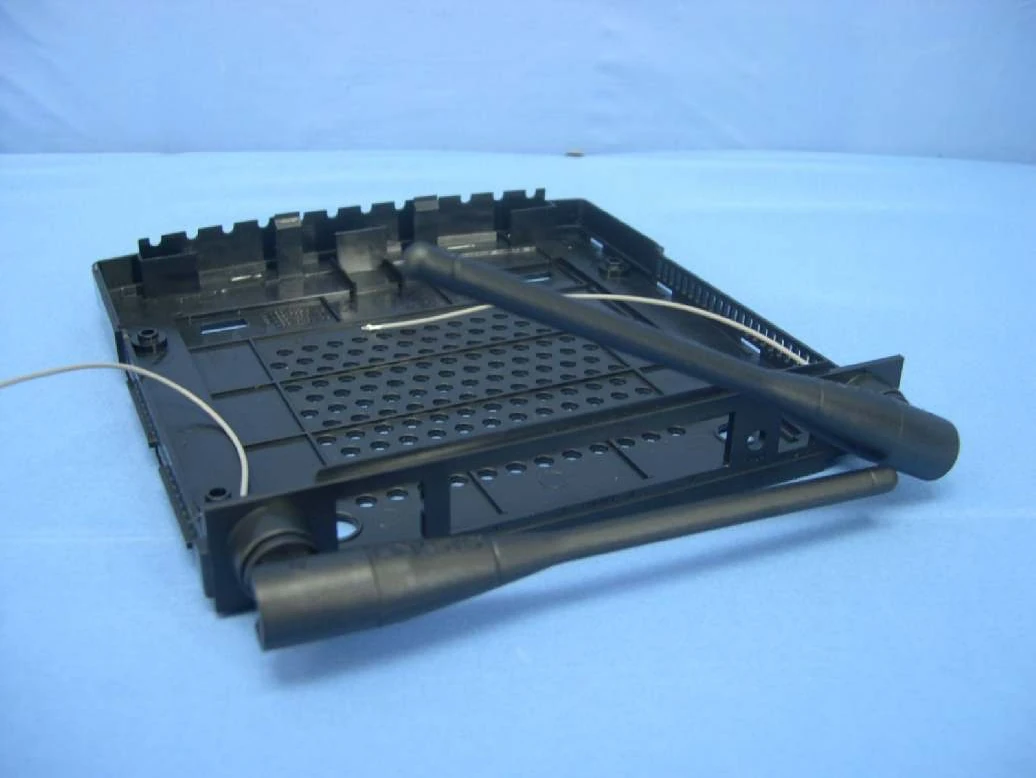
Pictures[]

FCC Pictures[]


Notes[]
Security LED[]
- The security LED will not light up after flashing on version 1.1. To fix this, go to Administration > Commands, type in the following and then click Save Startup:
while sleep 1; do if [ `nvram get wl0_security_mode` = "disabled" ]; then gpio enable 3; else gpio disable 3; fi; done &
As posted by osmosis
On the wiki for 150N is posted
root@DD-WRT:~# gpio enable 5 #(SECURITY LED - off - green)
root@DD-WRT:~# gpio disable 5 #(SECURITY LED - on - green)
root@DD-WRT:~# gpio disable 3 #(SECURITY LED - on - amber)
root@DD-WRT:~# gpio enable 3 #(SECURITY LED - off - amber)
this applies for the WRT300Nv1.0 as well so to incorporate the amber into the mix as not secure: Also confirmed working on the WRT300N v1.1 WifiShadow 02:40, October 1, 2010 (UTC)
while sleep 1; do
if [ `nvram get wl0_security_mode` = "disabled" ]; then
gpio enable 5
gpio disable 3
else
gpio enable 3
gpio disable 5
fi
done &
Hardware Modification[]